
Last updated October 9, 2026
Free on-site gate assessment - hinges, posts, and your LiftMaster or Nice gate operator checked before anything is quoted
The assessment is free and the quote is the invoice.

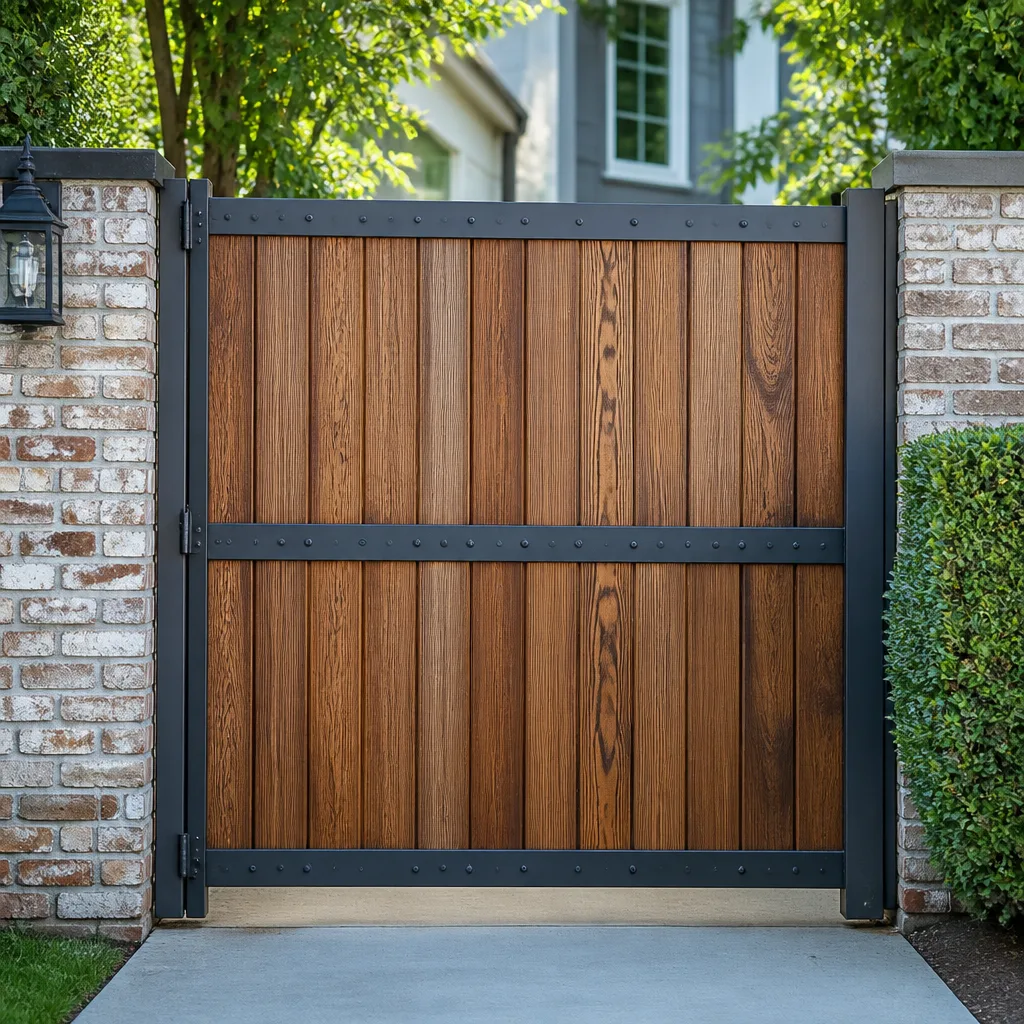


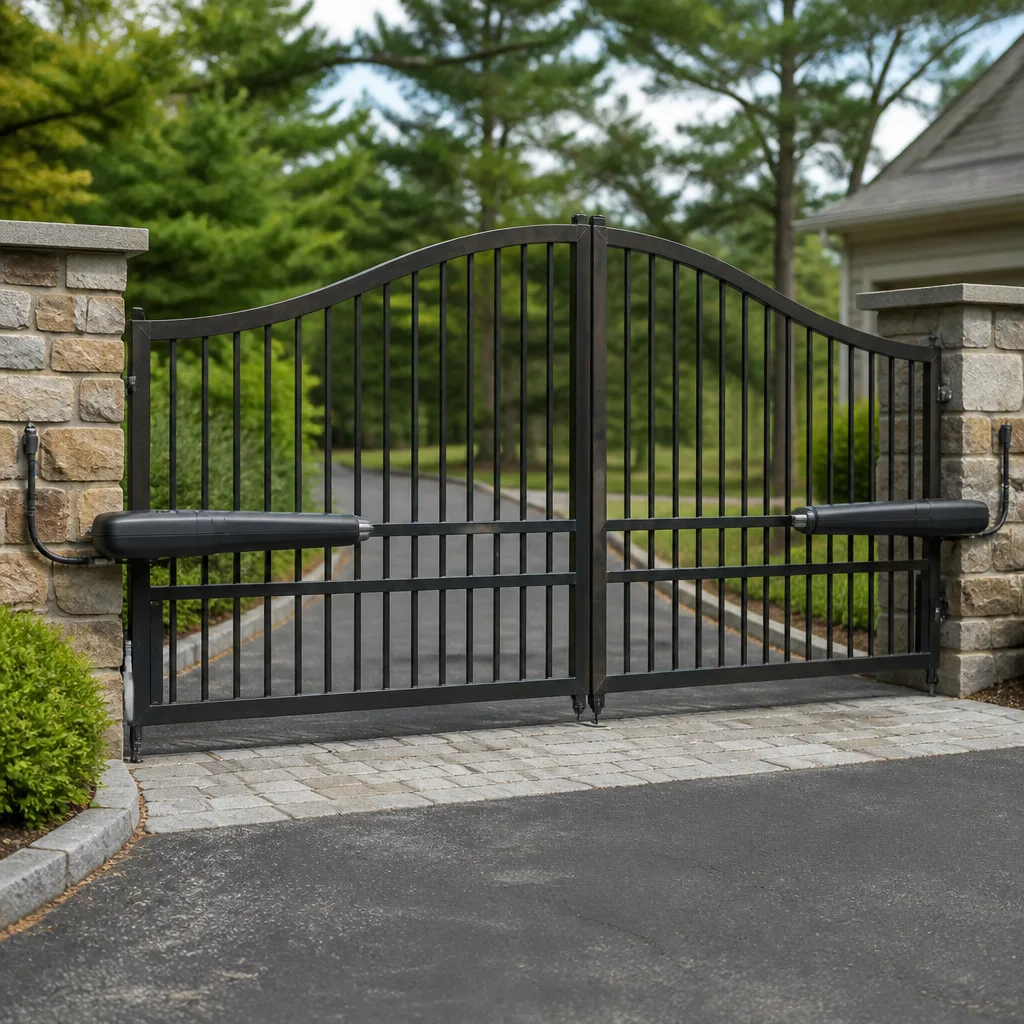
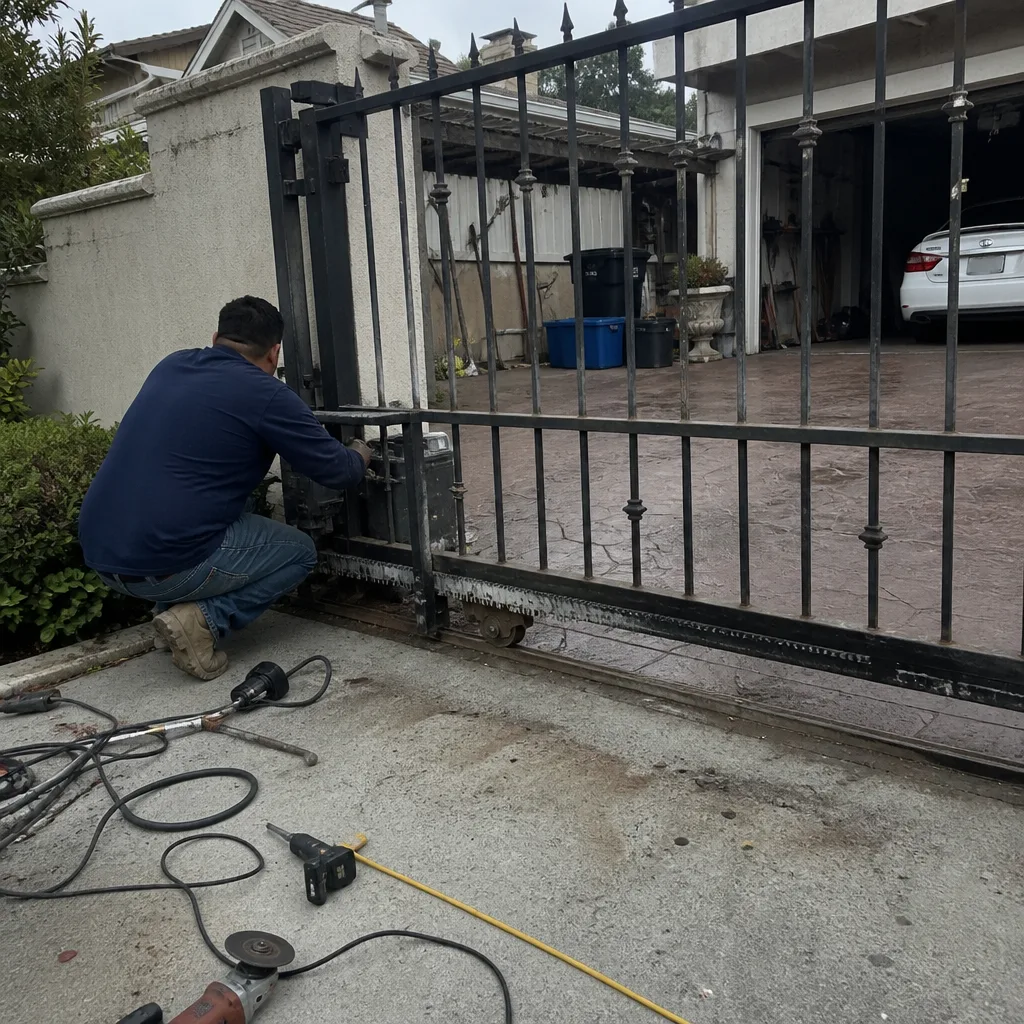 Before
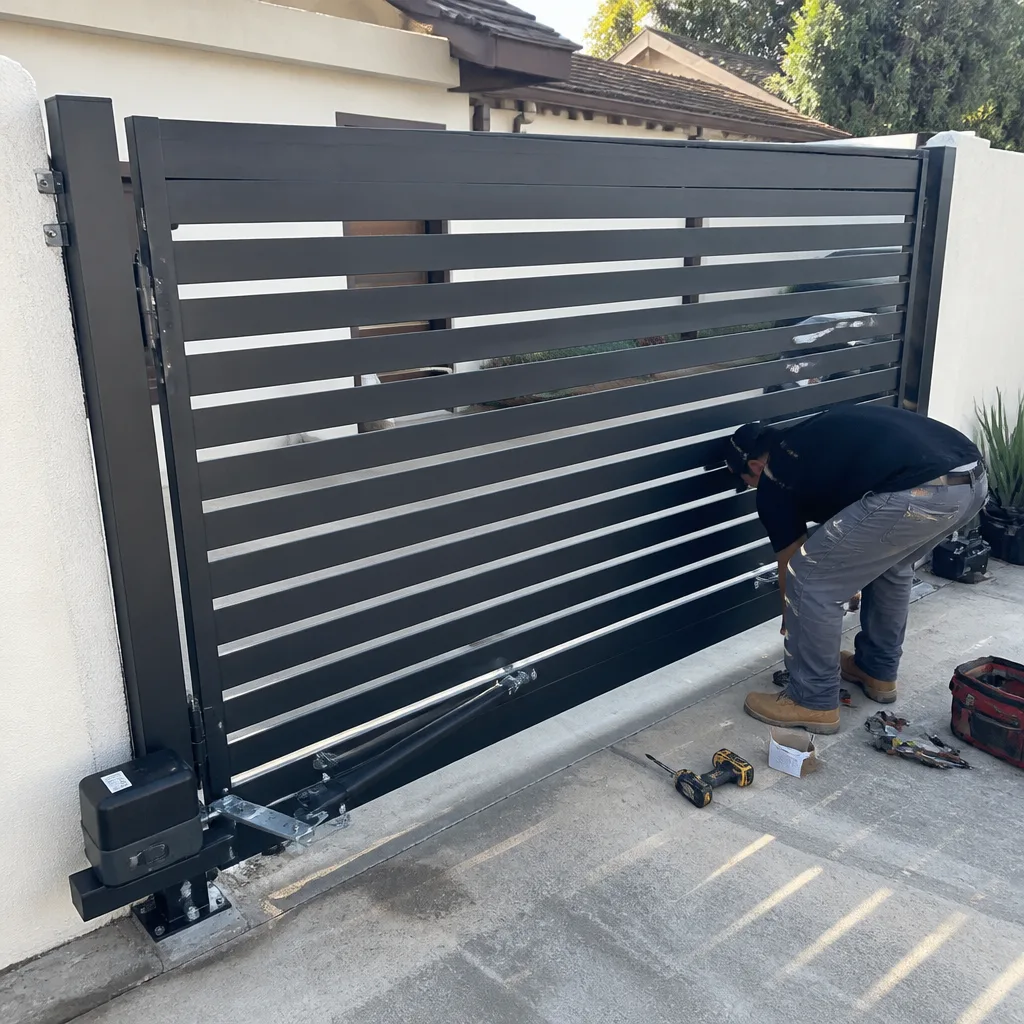 After
After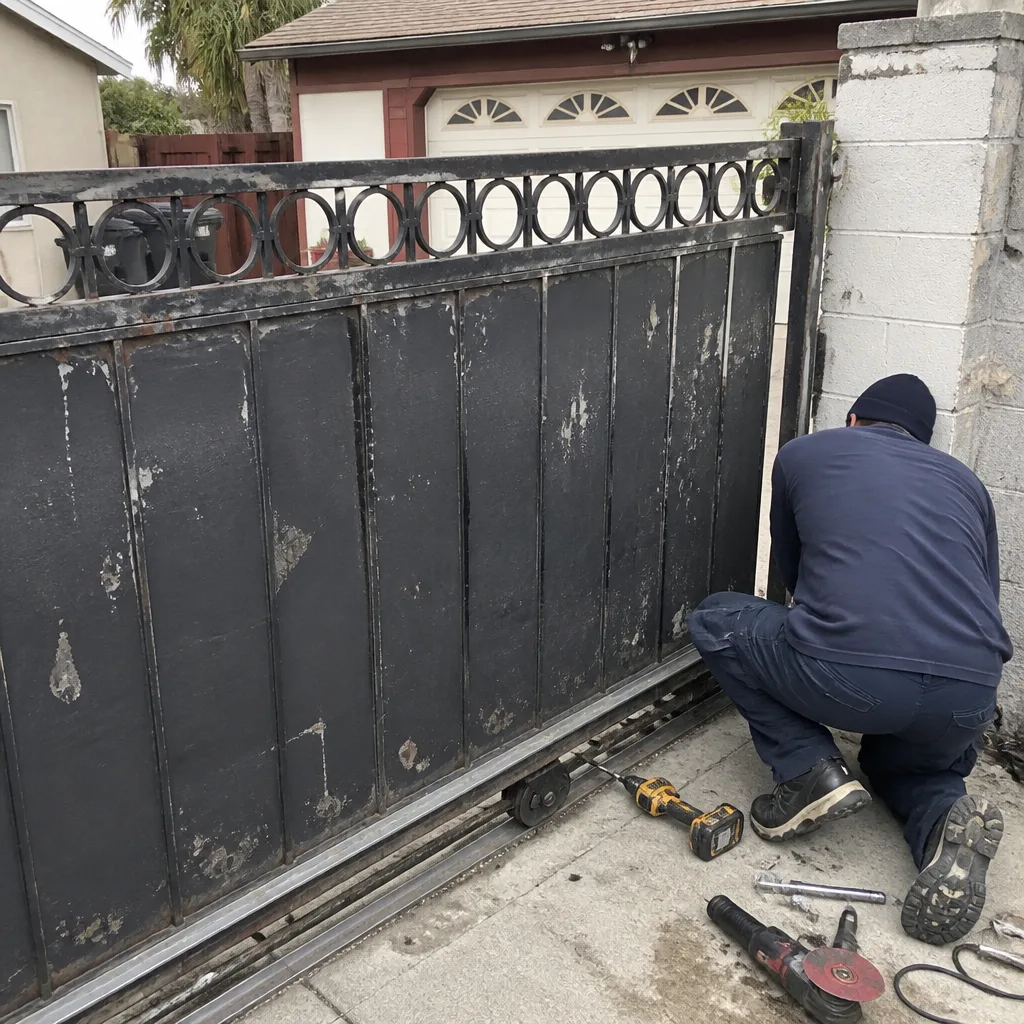 Before
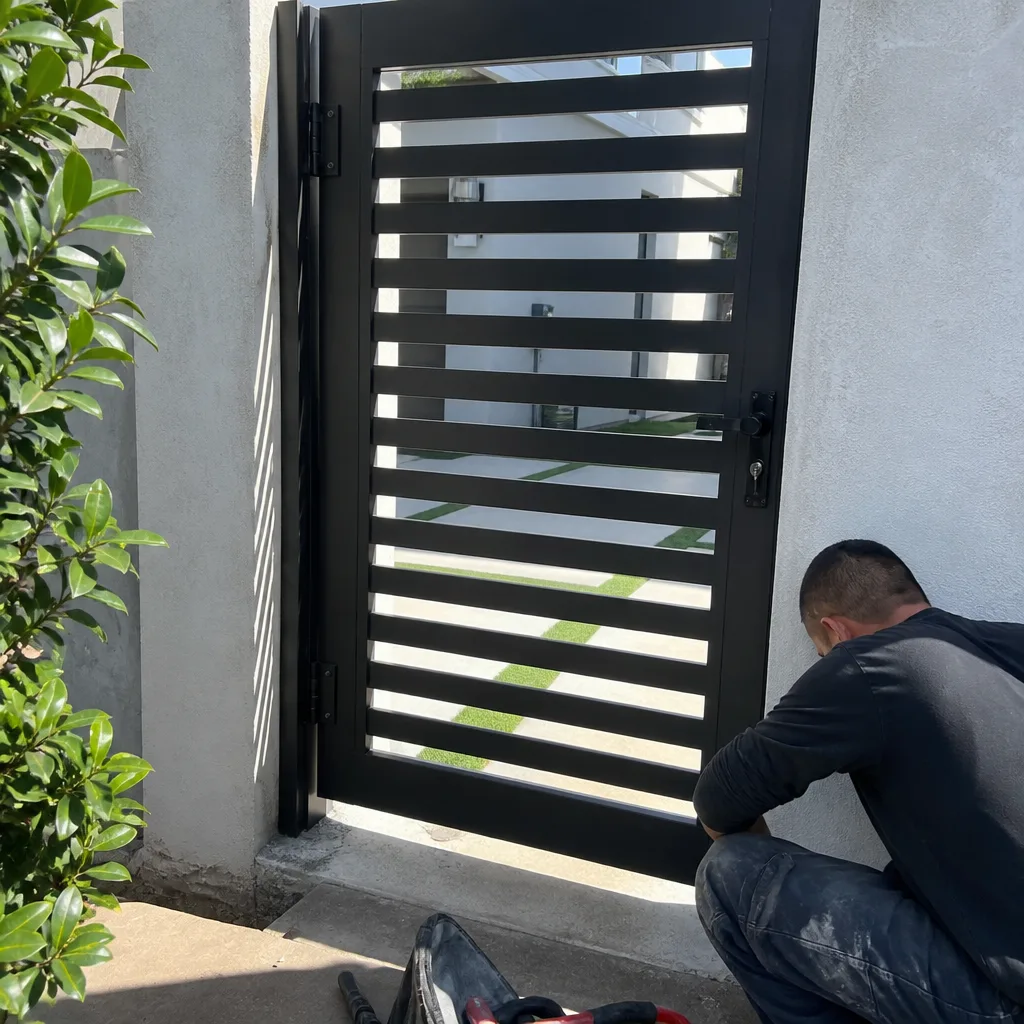 After
After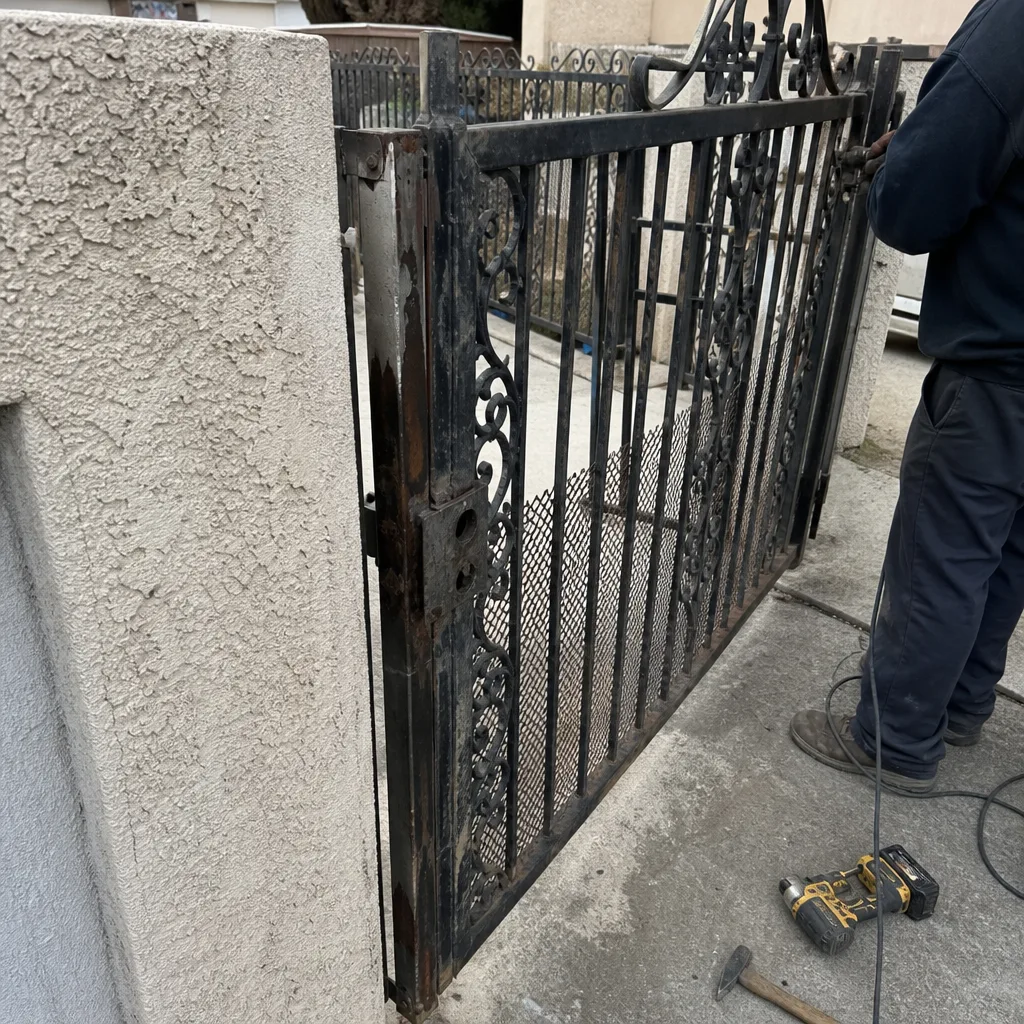 Before
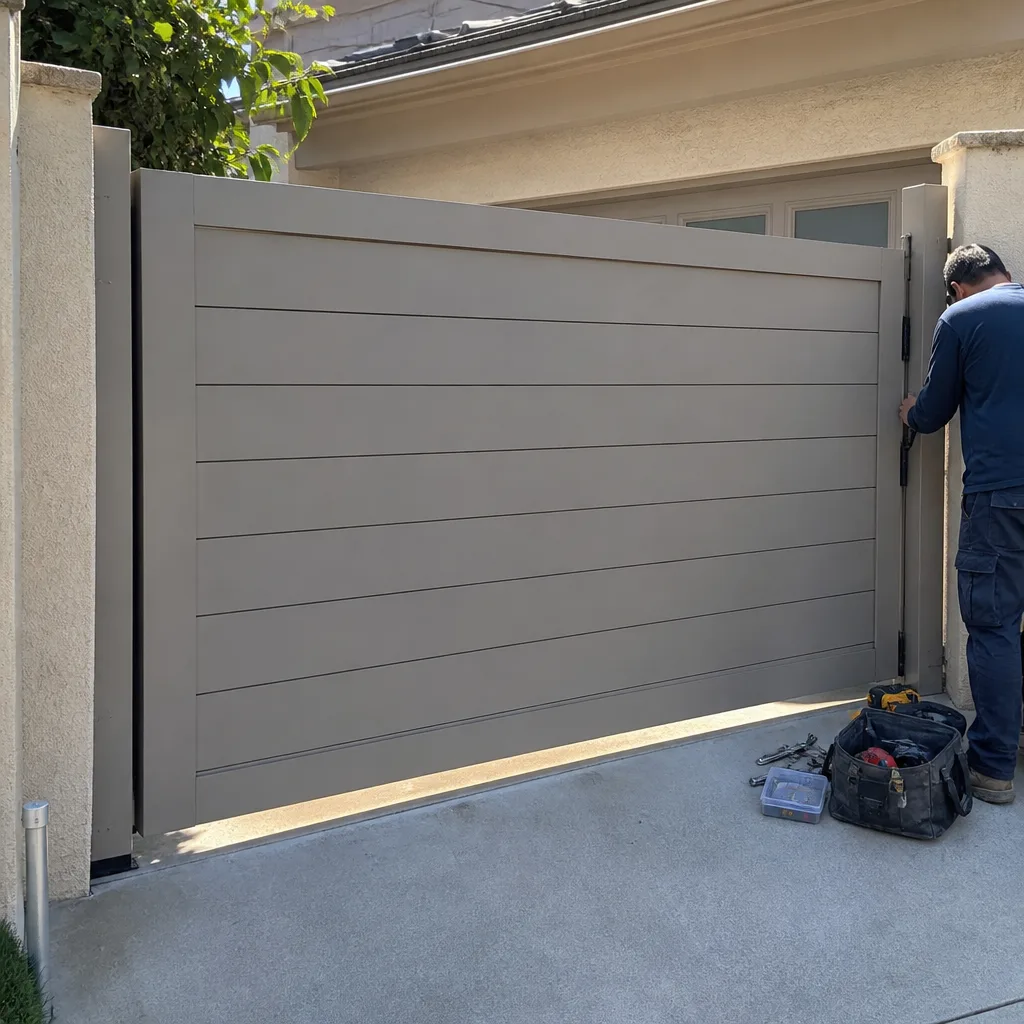 After
AfterDIY vs Professional Gate Repair: What’s Safe to Do Yourself
A sliding gate weighs between 300 and 900 pounds. A swing gate stores kinetic energy every time it moves. Both are powered by motors that draw household current. The question isn’t whether you’re handy enough to fix your gate. The question is whether the repair involves stored mechanical energy or electrical voltage, because those two things draw a hard line between what’s safe to do in your driveway on a Saturday and what belongs in the hands of someone who works on Gate Repair every day in Los Angeles. This guide walks through that line component by component.
Quick Answer
Most cosmetic and alignment work on a gate is reasonable to DIY if you own the right tools and understand where the energy lives. Gate springs, torsion systems, high-tension cables, and anything connected to the gate motor or the electrical supply should be left to a professional. The decision isn’t about skill. It’s about whether a mistake can send stored energy through your hand, your face, or your electrical panel.
Table of Contents
- The Energy Problem: Why Gates Are Different From Other Home Repairs
- What’s Generally Safe to Do Yourself
- What You Should Never Attempt Without Training
- The Tools That Change the Math on a DIY Job
- What DIY Actually Does to Your Gate Warranty
- The Real Cost Comparison: Five Common Repairs, DIY vs Pro
- Why Watching a YouTube Video Helps Some Repairs and Fools You on Others
- Common Mistakes to Avoid
- When to Call a Professional
- Frequently Asked Questions
- The Bottom Line
The Energy Problem: Why Gates Are Different From Other Home Repairs
Most home repairs fail safely. A loose cabinet hinge sags. A drippy faucet drips a little more. A gate is different. A gate stores energy in springs, in tension rods, in the weight of the panel itself, and in the capacitor inside the motor that keeps running for a few seconds after power is cut. When stored energy releases unexpectedly, it doesn’t sag or drip. It snaps, slams, or throws whatever was holding it back.
That’s the core difference between gate repair and almost every other weekend project. In Los Angeles, where the dry climate keeps gate hardware working longer than it does in humid regions, we see a specific pattern: gates that last fifteen years without service, then fail suddenly when a spring finally rusts through or a weld gives way. The age of the failure is what catches homeowners off guard. A gate that’s worked flawlessly for a decade feels safe to work on, right up until it isn’t.
We’ve responded to enough of these calls to say this plainly: the most dangerous repair on a residential gate is the one that looks easy. Springs, cables, and motor capacitors are all small enough to hold in one hand. All three carry enough energy to break bones or stop a heart. That’s the line this guide draws.
What’s Generally Safe to Do Yourself
Here’s the list of gate repairs that a careful homeowner with basic tools can usually handle. The common thread: none of these involve load-bearing springs, high-tension cables, or electrical components that can’t be fully disconnected first.
1. Lubricating hinges and rollers
This is the single most beneficial maintenance task on any gate, and it’s completely safe. Use a lithium-based grease on swing gate hinges and a silicone spray on sliding gate rollers and tracks. Do it every six months and you’ll extend the life of the hardware by years. In Los Angeles, where dust gets into everything, lubrication also cuts down on the squeak-and-grind that slowly wears out roller bearings.
2. Cleaning the track on a sliding gate
Debris buildup in a track is the leading cause of a sliding gate that jerks or stalls. Shut the gate off at the switch, sweep the track, and use a putty knife to clear packed dirt. Look for small rocks wedged in the V-groove. This is low-risk work with immediate results.
3. Tightening visible bolts and brackets
Gate hardware vibrates constantly. Bolts loosen. Grab a wrench set and go over every visible bolt on the panel, the hinges, and the gate motor mounting bracket. Don’t use an impact driver. Hand-tighten to snug, then a quarter turn more. Over-tightening strips threads and creates a problem worse than the one you fixed.
4. Painting and surface rust treatment
Cosmetic maintenance is entirely DIY territory. Wire-brush the rust, apply a rust-inhibiting primer, and paint. In coastal Los Angeles neighborhoods near the ocean, salt air accelerates rust, so this matters more than most people realize. A gate that gets painted every four years will outlast a neglected gate by a decade or more.
5. Testing and cleaning photo-eye safety sensors
The photo-eye sensors are the small boxes near ground level on either side of the gate opening. They stop the gate if something breaks the beam. Wipe them with a dry cloth and make sure they’re aligned. This is safe because the sensor itself runs on low voltage, and you’re not touching anything under tension. If the gate still won’t close after cleaning and realignment, that’s the point to call someone.
Quick Answer: If the component you’re about to touch is not under spring tension, not connected to line voltage, and not load-bearing, you can probably do it yourself. Lubrication, cleaning, tightening, painting, and sensor wiping are all safe DIY. Springs, cables, motors, and anything requiring a multimeter are not.
What You Should Never Attempt Without Training
This list exists because we’ve stood in driveways in Los Angeles looking at the aftermath of DIY repairs gone wrong. Not one of those homeowners thought they were doing something dangerous when they started.
1. Torsion springs and extension springs
Swing gate springs store the mechanical energy needed to help move a panel that weighs several hundred pounds. A torsion spring under load is a steel coil holding thousands of pounds of rotational force. If the winding bar slips, or the spring breaks while you’re adjusting it, the release is instant and violent. This is the number one cause of serious gate-related injuries. There is no safe way to work on a loaded spring without specialized winding bars, proper bracing, and experience reading how the spring is seated. Even with those things, professionals treat every spring as live until it’s fully unwound.
2. High-tension cables
On many sliding gate systems, cables run through pulleys and anchor points. When a cable fray is visible, the temptation is to replace it yourself. The problem: the old cable is still under tension, and releasing it without understanding the system’s load path turns the cable into a whip. We’ve seen cables slice through gloves and into hands. Never work on a cable that’s under tension.
3. The gate motor (operator) itself
Gate motors on BFT, Linear, and Viking systems are built to industrial standards, but they’re powered by household current and contain capacitors that hold a charge after the unit is switched off. Opening the housing without discharging the capacitor is how people get electrocuted. The wiring, the circuit board, the limit switches, the force adjustments, the capacitor discharge – all of it belongs to someone who works on these specific units regularly. The motor is the component that makes everything else dangerous. It’s the one component you should not open.
4. Any repair that requires the gate to be moved off its supports
If the fix requires jacking up the gate panel, disconnecting the hinge pins, or moving the panel off the rail, the job has crossed into professional territory. The panel’s weight is its own hazard. A 400-pound panel that slips off a jack doesn’t just dent. It crushes whatever is underneath it. Renting a panel lift isn’t a replacement for knowing where to brace and how to sequence the work.
5. Electrical runs and hardwiring
Running new conduit, pulling wire, or tying into the electrical panel is work for a licensed electrician. Ghost Controls and other openers can be plugged into a standard outlet for DIY installation, but when the job involves hardwiring, the permitting process in Los Angeles and the risk of a bad connection make it a job for someone with the right credentials.
The Tools That Change the Math on a DIY Job
A hinge replacement is one of the most common gate repairs, and it’s a good case study in how tools determine whether DIY is smart or reckless. A hinge on a swing gate is under constant lateral load from the weight of the panel. Even with the gate propped securely, removing and replacing a hinge requires specific equipment to do safely.
Here’s the minimum kit for a safe DIY hinge replacement:
- Sawhorses with load-rated capacity: Two sawhorses rated for the gate’s weight, not the cheap folding kind. A 500-pound gate needs sawhorses that can hold that weight without wobbling.
- A panel lift or hydraulic floor jack: This lifts and supports the gate panel while you work. It must be rated for the gate’s weight and must sit on level ground.
- Proper chocks and wedges: These prevent any lateral movement while the gate is off its hinges.
- Full wrench set and breaker bar: Hinge bolts on older gates are often rusted and seized. A breaker bar provides the torque without a cheater pipe.
- Laser level: This gets the gate re-hung level so it doesn’t sag against the latch post and wear out the new hinge in a year.
Now here’s the honest part: that kit costs roughly $250 to $450 if you buy it new, and about $80 to $120 if you rent the panel lift and jack. The hinge itself is $25 to $60. So a DIY hinge replacement costs between $105 and $180 in tools, materials, and rental, plus your time. Warden Gate Repair will send a technician to your door in Los Angeles with all of this equipment on the truck, and the repair is backed by the 365-Day Done Right Promise. The cost difference isn’t as wide as most people think, and the risk profile drops to zero when a trained professional does the job.
The line where DIY hinge replacement becomes unsafe: when the gate weighs more than 300 pounds, when the hinge is gate-side rather than post-side, and when the post itself is rotting or shifting in the ground. All three conditions require experience reading the gate’s geometry and load distribution.
What DIY Actually Does to Your Gate Warranty
Most gate and gate motor warranties contain language that’s easy to misread. Here’s what it really means for the average homeowner.
What most warranties say in plain language: If the failure is caused by unauthorized service, improper maintenance, or modification, the warranty is void. That’s not a scare tactic. It’s the manufacturer’s way of limiting liability for work they didn’t supervise.
What DIY usually voids:
- Opening the motor housing. Most BFT, Viking, and Linear motor warranties are voided the moment the housing is opened by someone other than an authorized service provider. There’s no way for the manufacturer to know what was touched inside, so they don’t honor the warranty after that point.
- Adjusting limit switches or force settings without training. These settings control how far the gate travels and how much force it applies before reversing. An incorrect adjustment can damage the motor, damage the gate, or injure someone. Manufacturers consider this unauthorized service.
- Replacing springs with springs that don’t match the gate’s weight and geometry. The wrong spring rating creates a gate that slams or a spring that fails early. When that broken gate comes back to the manufacturer as a warranty claim, the spring is the first thing they inspect.
What DIY usually doesn’t void:
- Lubrication and cleaning are maintenance, not service, and they don’t void anything.
- Cosmetic work like painting and rust treatment are fully in your court.
- Photo-eye sensor cleaning and alignment doesn’t void the motor warranty because it doesn’t involve opening the motor housing.
The warranty picture matters more than the immediate repair cost. A homeowner who opens a Ghost Controls motor to fix a loose wire might save $150 on the service call, then lose a $400 motor replacement when the board fails six months later and the manufacturer denies the claim. The math is simple, but you have to know the rule to do the math.
The Real Cost Comparison: Five Common Repairs, DIY vs Pro
Here’s the thing most DIY guides won’t tell you: after materials, tools, rental fees, and your own time, the savings are usually smaller than the pride factor suggests. Here’s the breakdown for five common repairs, using Los Angeles pricing.
| Repair | DIY Cost (materials + tools/rental) | Professional Cost (Los Angeles) | Real Savings | Risk Level |
|---|---|---|---|---|
| Lubrication and track cleaning | $12 – $20 (grease and spray) | $80 – $120 | $60 – $100 | Very low |
| Photo-eye sensor cleaning/alignment | $0 – $10 (dry cloth) | $90 – $130 | $80 – $120 | Very low |
| Hinge replacement (single hinge) | $105 – $180 (materials + rented panel lift and saws) | $180 – $280 | $75 – $100 | Moderate |
| Gate motor capacitor replacement | $40 – $90 (capacitor + multimeter + insulated tools) | $170 – $260 | $80 – $120 | High (electrical shock risk) |
| Torsion spring replacement | $70 – $150 (spring + winding bars) | $220 – $350 | $100 – $200 | Very high (severe injury risk) |
Look at the savings column. The safe DIY jobs save you $60 to $120. The dangerous ones save you $80 to $200. Now put that $200 against the cost of an emergency room visit for a hand injury, which runs $1,500 to $3,000 in Los Angeles even with insurance, plus missed work, plus a gate that’s still broken because you couldn’t finish the repair. The math never works on the dangerous jobs. It works on the safe ones. Do the safe ones yourself and call a professional for the rest.
Why Watching a YouTube Video Helps Some Repairs and Fools You on Others
There’s a specific phrase we hear from homeowners in Los Angeles who got in over their heads: “I watched a video and it looked easy.” The video didn’t lie. The video just didn’t show the full context.
Where video prep is genuinely useful: lubrication, track cleaning, sensor alignment, and painting. These repairs are visual and procedural. The video shows you where the grease points are, what a clean track looks like, and how to tell if the sensors are aligned. You can replicate what you see because there’s no hidden tension or voltage. The stakes are low and the techniques transfer directly.
Where video prep is dangerous: anything involving springs, cables, or motor internals. Here’s why. A YouTube video filmed on a 200-pound aluminum gate in Arizona does not prepare you for the same repair on a 600-pound steel gate in Los Angeles. The video shows the technique, but it can’t show the load, the torque, the corrosion, or the specific failure mode your gate has developed. The dangerous part of spring and cable work isn’t the visible procedure. It’s the moment the stored energy releases differently than it did in the video. That moment isn’t on camera because the person filming did it right.
There’s also the selection bias problem: the video exists because someone succeeded. The failures don’t get uploaded. For every gate spring replacement video with a clean outcome, there are homeowners who aren’t uploading their trip to urgent care.
Common Mistakes to Avoid
- Assuming the gate is off because the keypad doesn’t work. The keypad can fail while the motor still has live power running to it. Always test the motor directly and cut the correct breaker before touching anything electrical. Label the breaker while you’re at it.
- Using the wrong spring for the gate’s weight. Springs are rated, not generic. A spring from the hardware store is not the same as a spring spec’d to your gate’s weight and geometry. Wrong spring means a gate that slams, breaks, or throws body parts.
- Propping the gate with a cinder block or a 2×4. Cinder blocks crack under point load. 2x4s kick out. Both have failed on Los Angeles homeowners. Use load-rated sawhorses or a panel lift.
- Working alone on a gate that’s designed to move. If the gate moves unexpectedly while you’re under it or holding tension, you need a second person to kill the power or call for help. Solo gate repair is how simple problems become emergencies.
- Adjusting force settings to compensate for an underlying problem. When a gate starts stalling, cranking up the force setting masks the real issue and creates a gate that can injure someone. Find the obstruction, the bad roller, or the binding hinge instead.
- Ignoring the warning signs in the motor housing. A burning smell, a humming sound without movement, or visible scorch marks are signs the motor is failing electrically. These are not DIY diagnostic territory. Continuous exposure to a failing motor risks fire.
When to Call a Professional
Call a professional when the repair involves any spring under tension, any cable that carries load, any wiring inside the motor housing, any attempt to move the gate off its supports, or any situation where the gate has stopped working and you can’t see an obvious, mechanical reason why. Those are the moments where the risk curve goes vertical. In Los Angeles, the dry climate hides corrosion inside components until they fail suddenly, so the gate that looks fine on the outside may be rusted through at the spring anchor or the cable clamp. What you can’t see is what gets you.
Warden Gate Repair offers free estimates in Los Angeles, with a written price before any work starts. Call (828) 426-7081 and describe what the gate is doing. We’ll tell you honestly whether it’s a call-out job or something you can handle with a can of grease and a wrench. That honesty is the whole point of the Warden Gate Repair home approach: the right answer for your gate, not the most profitable answer for us.
Frequently Asked Questions
No. Gate springs store enough mechanical energy to cause serious injury when they release unexpectedly, and there is no safe way to unload them without specialized winding bars, correct bracing, and experience reading the spring’s seated position. This is the number one injury-causing repair on residential gates. Call a professional for any spring that’s broken, sagging, or making noise.
Most gate repairs in Los Angeles run between $90 and $350 depending on the component. Simple fixes like lubrication, cleaning, and sensor alignment sit at the low end. Spring replacement, motor repair, and cable replacement sit at the high end. The exact price depends on your gate’s weight, age, and brand. Warden Gate Repair gives a written price before any work begins, so you’ll know the total before the first tool comes out of the truck. That’s the Gate Repair in Los Angeles standard we’ve held since 2008.
The torsion spring system on a swing gate. It holds thousands of pounds of rotational force in a compact package, and when it releases unexpectedly, the winding bar becomes a projectile and the spring itself becomes a blunt-force and pinch hazard. High-tension cables are a close second. Both require the same caution as working on a loaded weapon: assume it’s live until proven otherwise.
It depends on the repair. Lubrication, cleaning, painting, and sensor maintenance do not void your warranty. Opening the motor housing, adjusting limit switches, adjusting force settings, or replacing springs with non-spec parts usually does. Check your warranty language and err on the side of calling a professional for anything that involves the motor or the springs. The Electric Gate Repair in Los Angeles warranty picture is the same as everywhere else: unauthorized service is the fastest way to lose manufacturer coverage.
Most gate motors in Los Angeles last 10 to 15 years with proper maintenance. The dry climate is kind to electrical components compared to humid regions, but dust intrusion and power surges from summer brownouts take a toll. If your motor is over 12 years old and failing intermittently, replacement is usually more cost-effective than repair. That’s the honest guidance we give even when repair would be the more profitable answer for us. Gate Motor Repair in Los Angeles often comes down to that age calculation.
First, check for an obstruction in the track or the swing path. Then clean the photo-eye sensors and check that their alignment is straight. If the gate still stops partway, the limit switches are likely out of adjustment or the motor’s force setting is fighting a mechanical problem. Limit switch adjustment on BFT, Linear, and Viking motors is not recommended as DIY. You’re adjusting the gate’s travel limits while the operator is live, and one wrong setting makes the gate a hazard. Call (828) 426-7081 for a professional adjustment.
The Bottom Line
Do the jobs where nothing can hurt you: lubricate, clean, tighten, paint, and wipe down sensors. Skip the jobs where energy is stored: springs, cables, motors, and anything involving the gate’s weight off its supports. In Los Angeles, where gate failures trend sudden after years of dry-weather wear, the gate that worked fine yesterday can be the gate that snaps at the spring anchor today. When in doubt, call someone who works on gates every day. The cost of a professional repair is almost always less than the cost of a professional repair after a failed DIY attempt.
Written by Cole Rafferty, Owner at Warden Gate Repair, serving Los Angeles since 2008. Read more guides & resources on gate care and safety.