
Last updated October 9, 2026
Free on-site gate assessment - hinges, posts, and your LiftMaster or Nice gate operator checked before anything is quoted
The assessment is free and the quote is the invoice.

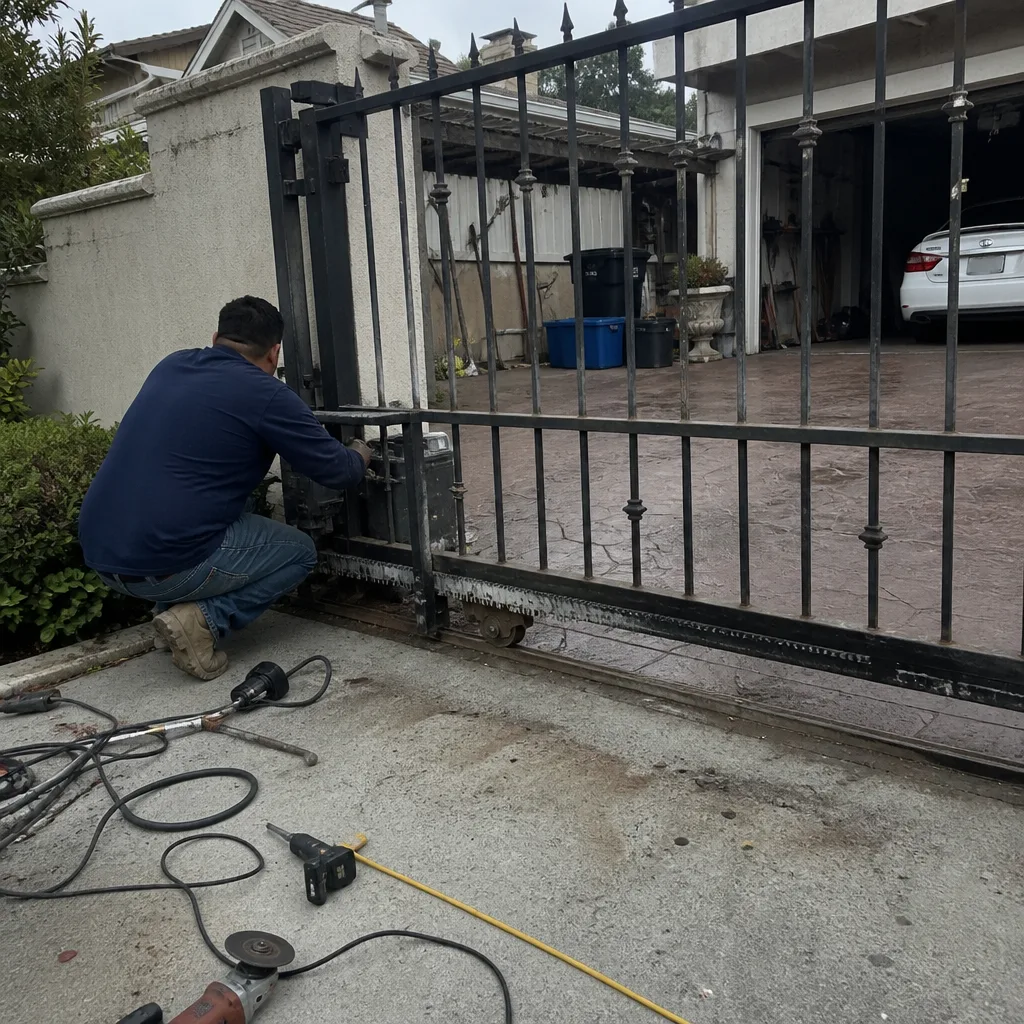 Before
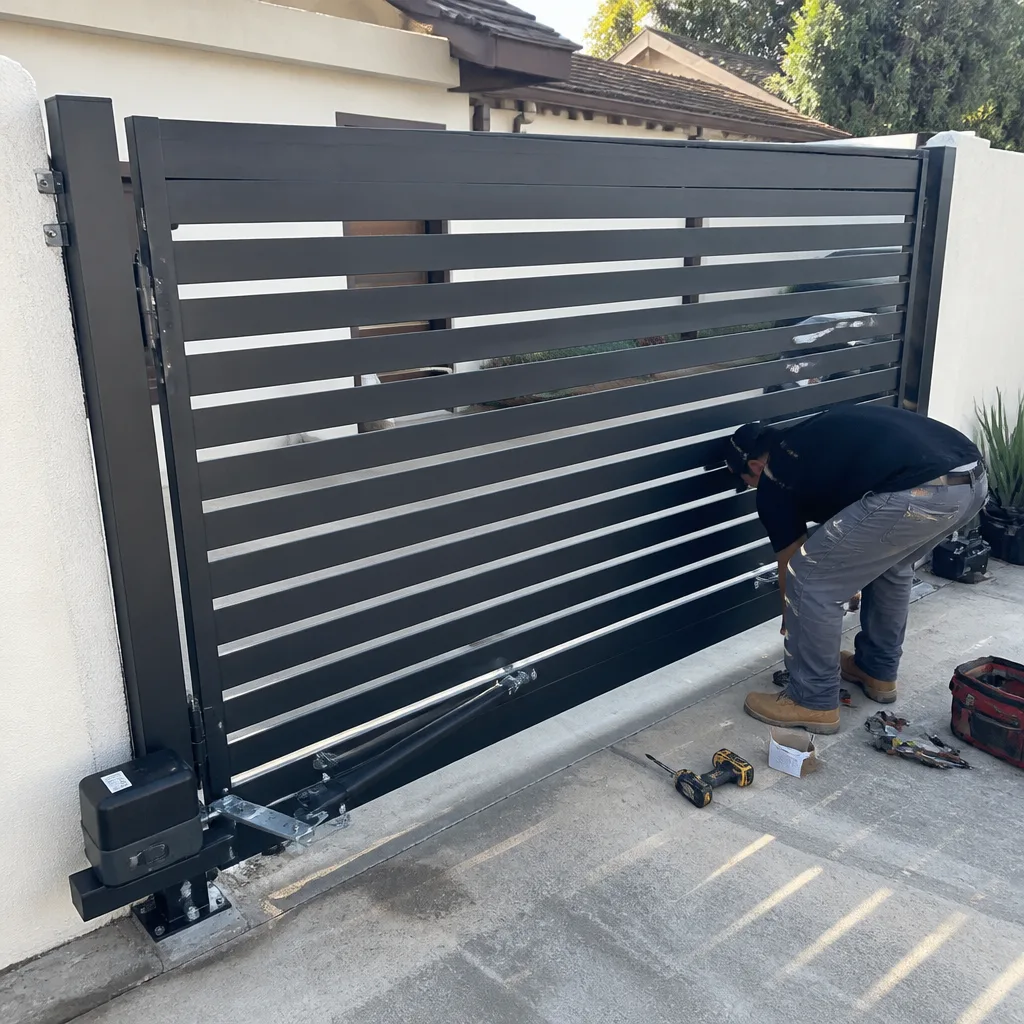 After
After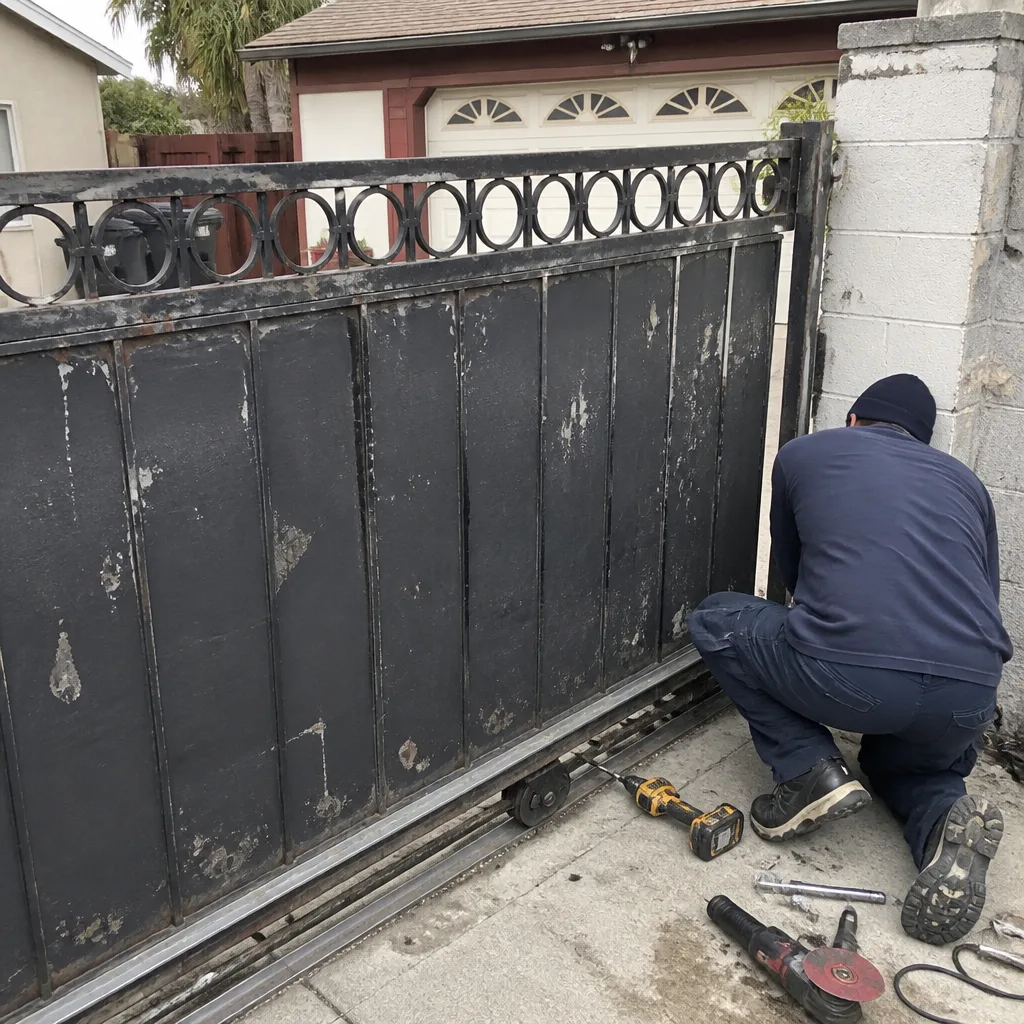 Before
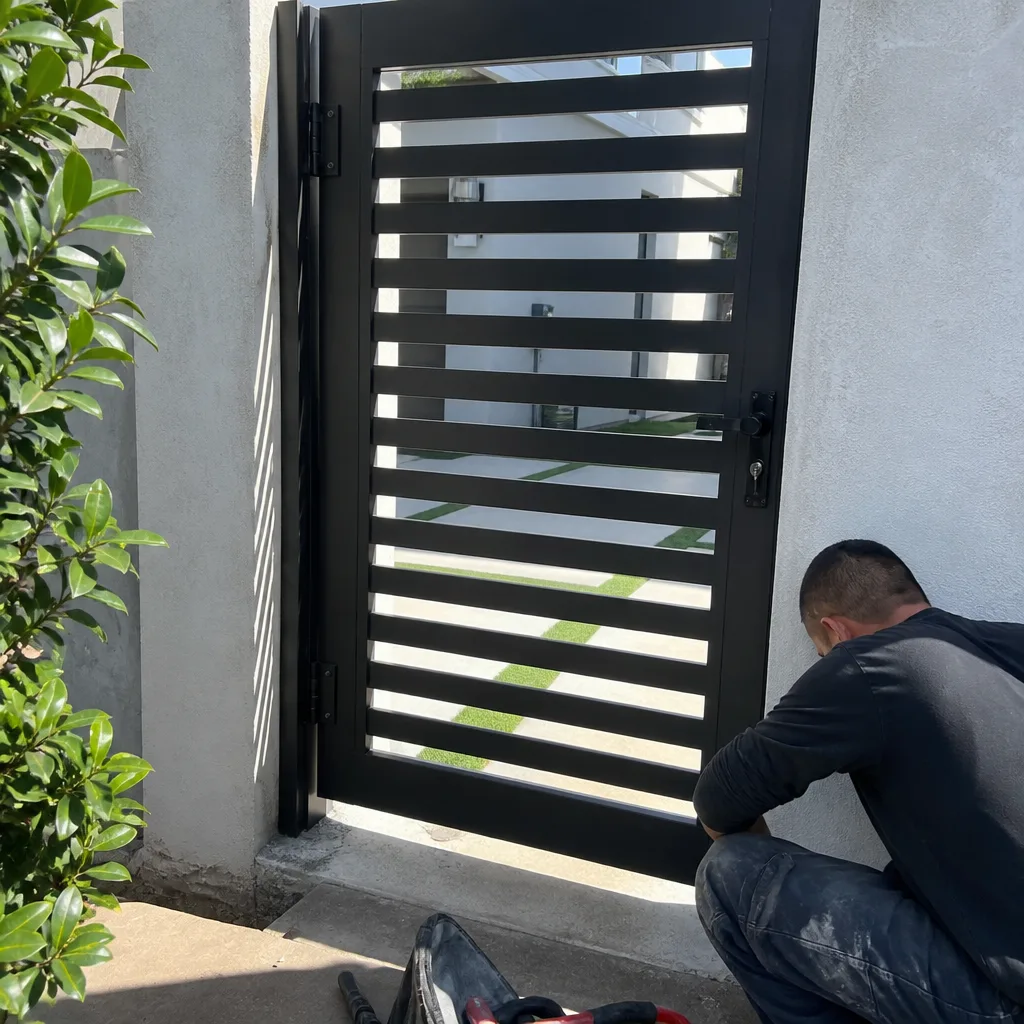 After
After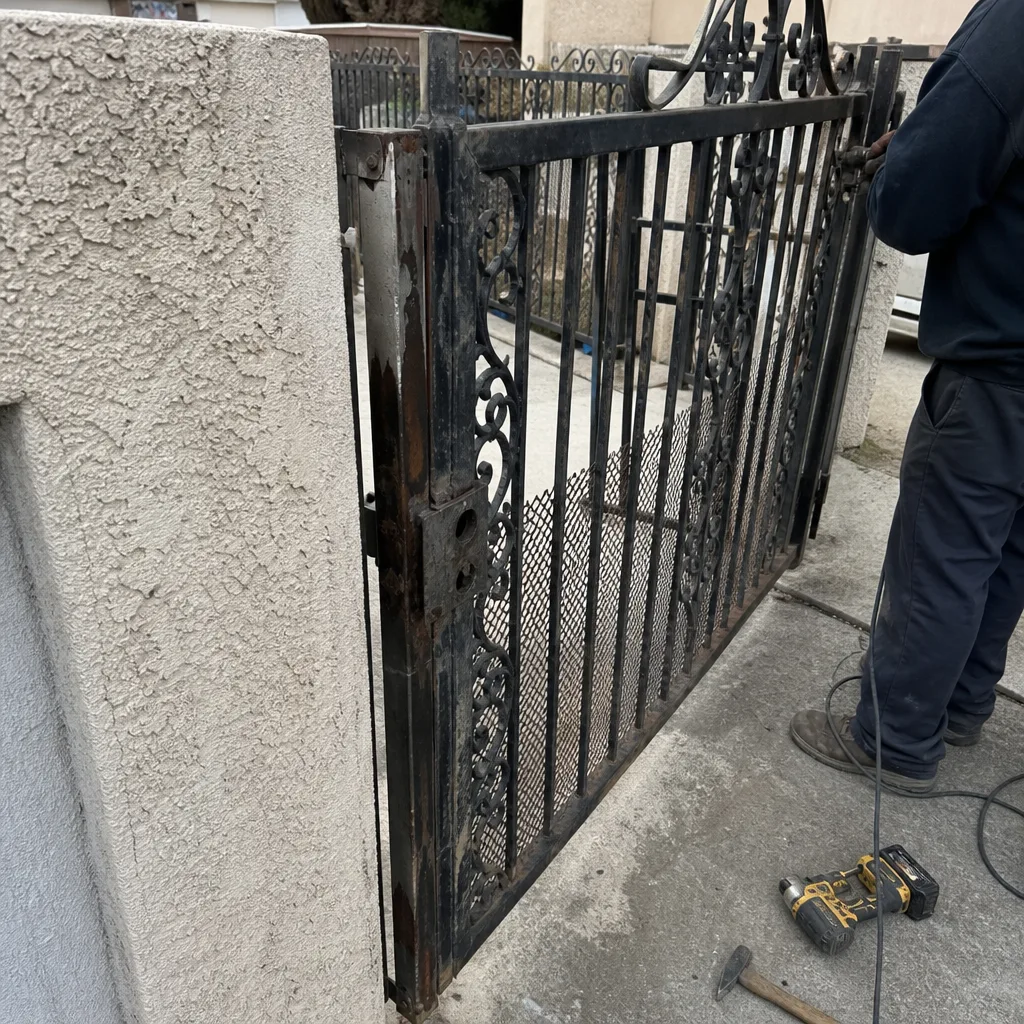 Before
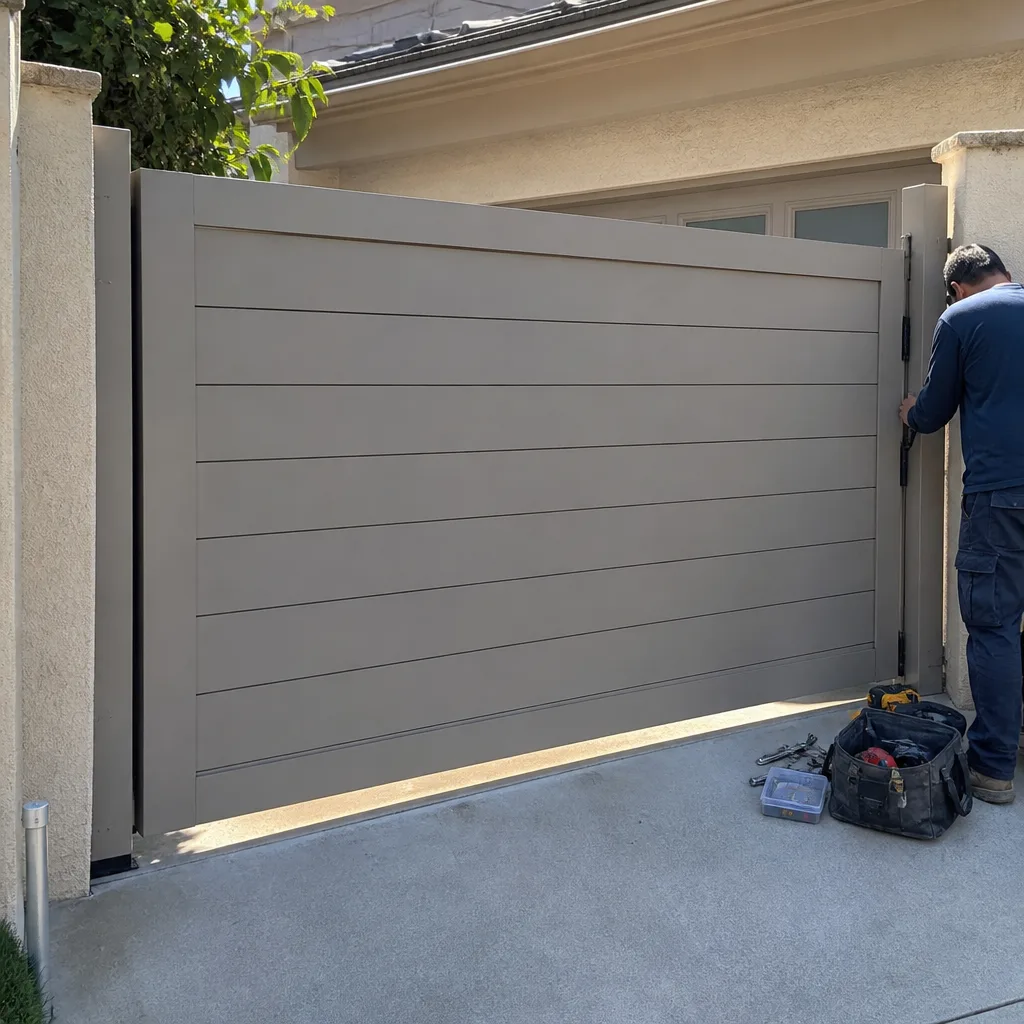 After
AfterElectric Gate Repair Troubleshooting: Common Problems and How to Fix Them
Most electric gate failures in Los Angeles are not motor failures. They are sensor failures, power interruptions, or loose connections that a homeowner can identify in under ten minutes. The problem is that people skip straight to the most expensive component because they don’t know the correct diagnostic sequence. This guide walks you through the exact order to check things, what each symptom actually means, and which problems you can safely handle yourself versus which ones need our Gate Repair services. We will translate brand-specific error codes from LiftMaster, Viking, and Elite into plain English, explain why Los Angeles weather creates specific failure patterns, and tell you exactly what information to have ready before you call for service.
Quick Answer
Electric gate repair troubleshooting means checking three separate systems in a specific order: power first, then safety sensors, then the motor and control board. The most common fixable issue is a misaligned or dirty photocell sensor, which causes the same “won’t close” symptom as a failed control board but costs nothing to clean. In Los Angeles, most residential gate failures are either a tripped GFCI outlet, a dusty safety sensor, or a low backup battery – before calling a technician, check those three things in that order.
Table of Contents
- The Correct Diagnostic Sequence: Power, Sensors, Receiver, Motor, Board
- Power Problems: The Most Overlooked Cause of Gate Failure
- Safety Sensor Issues: The 90-Second Fix Most People Miss
- Intermittent vs. Consistent Failures: What the Pattern Tells You
- Brand-Specific Error Codes Translated: LiftMaster, Viking, Elite
- Free Checks You Can Run Before Calling a Technician
- Common Mistakes to Avoid
- When to Call a Professional
- Frequently Asked Questions
- The Bottom Line
The Correct Diagnostic Sequence: Power, Sensors, Receiver, Motor, Board
Electric gate troubleshooting fails for one reason more than any other: people check things in the wrong order. They hear a clicking noise and assume the motor is dead when the real problem is a tripped outlet. They see the gate stop halfway and replace a control board when a leaf was blocking the photocell beam. The correct sequence eliminates the cheap, common causes before you spend money on parts.
Here is the order we use on every single service call in Los Angeles, and it is the order you should follow at home:
- Power source. Check the GFCI outlet the gate motor is plugged into. In Los Angeles, where many homes have outdoor outlets exposed to morning marine layer moisture and afternoon heat, GFCI trips are extremely common. Reset the outlet. Check the breaker. Confirm the gate has power before touching anything else.
- Safety sensors (photocells). Look at the small sensor boxes mounted near the bottom of the gate posts on each side. If the lens is dusty, spider-webbed, or knocked slightly out of alignment, the gate will refuse to close. This is a safety feature working correctly, not a breakdown.
- Receiver and remote. Test the wall button or keypad. If the gate opens from the hardwired control but not the remote, the problem is the receiver or the remote battery, not the motor. Replace the remote battery first – it costs two dollars and takes one minute.
- Motor and drive mechanism. Listen for what the motor is doing. Humming without movement means a gear or capacitor issue. Complete silence after power is confirmed points to the motor or a relay. Grinding suggests a physical obstruction or worn gear.
- Control board. Only after you have eliminated everything above should you suspect the logic board. Boards fail, but they fail far less often than sensors, batteries, and connections. Replacing a board when the real problem was a dirty sensor wastes three hundred dollars and solves nothing.
We cannot overstate how much time and money this order saves. In our experience across Los Angeles neighborhoods from Sherman Oaks to Pasadena, roughly two-thirds of “dead gate” calls are resolved by steps one through three.
Power Problems: The Most Overlooked Cause of Gate Failure
A dead gate is usually a dead outlet, not a dead motor. Electric gate systems in Los Angeles draw power from a dedicated circuit, typically a GFCI outlet mounted near the gate motor or inside a weatherproof box on the property. When that outlet trips, the entire system goes dark, and the symptoms look identical to a failed motor.
What you should check first:
- The GFCI outlet. Press the reset button firmly. If it clicks and the gate powers up, that was the entire problem. If it trips again immediately, you have a ground fault somewhere in the wiring and need a technician.
- The breaker panel. Find the breaker labeled “gate” or “gate opener” and confirm it has not tripped. Reset it once. If it trips again, do not keep resetting it – that indicates a short circuit, and you should call a professional before attempting anything else because wiring faults near a gate can create shock hazards.
- The battery backup. Many Los Angeles gate openers have a battery backup so the gate still works during power outages. If the gate is running on battery and the battery is depleted, the gate may open slowly or not at all. Check whether the battery backup indicator light is on or flashing. Ghost Controls and DoorKing openers both show battery status with a small LED on the control board.
One Los Angeles-specific factor: the heat. Summer temperatures in the Valley routinely exceed 100 degrees, and control boards mounted inside metal gate operator housings can overheat. If your gate works in the morning but fails in the late afternoon, heat buildup inside the operator box is a likely cause. The fix is often as simple as adding ventilation or relocating the box to a shaded position, which is a service call rather than a part replacement.
Safety Sensor Issues: The 90-Second Fix Most People Miss
Every automatic gate in Los Angeles is required by code to have safety sensors that prevent the gate from closing on a person, vehicle, or pet. These sensors are typically a pair of small, black plastic boxes mounted on opposite sides of the gate opening, low to the ground. One box emits an invisible infrared beam. The other receives it. When the beam is interrupted, the system treats it as an obstruction and refuses to close the gate.
The problem: dust, dirt, spider webs, and even leaves can partially block the beam. Even a thin layer of Los Angeles road dust on the receiving lens is enough to scatter the infrared signal. The symptom is a gate that opens fine but will not close, or closes partway and then reverses. A homeowner who does not know better interprets this as a serious control board failure and calls for an expensive repair.
Before calling anyone, do this:
- Locate both photocell sensors on either side of the gate opening.
- Wipe the front lens of each sensor with a dry cloth. Do not use water or cleaning spray – the electronics inside are not sealed against moisture.
- Check that both sensors are pointing directly at each other. If one has been bumped by a gardener’s blower, a delivery truck, or a child’s bike, you can gently rotate it back until the indicator light turns solid.
- Look for the indicator light. Most sensors have a small LED. A solid light means the beam is aligned and receiving. A blinking light means misalignment or obstruction.
- Sensor alignment. Walk out to the gate and check both photocell sensors. Are they pointing at each other? Are the lenses clean? Is the indicator light solid? If the light is blinking, the beam is not aligned. Adjust gently by hand and watch for the light to turn solid.
- Antenna position. The remote receiver antenna is a thin wire sticking out of the control board housing. If the gate works when you are close but not from inside your car at the street, the antenna may be pinched, broken, or shoved inside the metal housing where the signal cannot reach. Pulling it out and straightening it can instantly improve remote range. This is a common issue with DoorKing and Ghost Controls openers installed in Los Angeles where metal gates and metal fences create signal interference.
- Battery backup status. Open the control box and look at the battery. If it is swollen, leaking, or the indicator light is flashing, the battery has failed. A failed backup battery can draw down the entire system even when the gate is plugged in. Disconnecting a visibly bad battery is a safe temporary fix, but replace it soon because a gate without backup power will not operate during an outage.
- Obstruction check. Run your hand along the gate track or swing path. Remove any rocks, sticks, or debris piled against the gate. In Los Angeles, eucalyptus leaves and palm fronds accumulate in gate tracks faster than most homeowners expect, and a gate that struggles to move often just has a track full of leaves.
- Remote battery. Replace the battery in every remote and the keypad. It is a one-dollar part that solves a surprising percentage of “the gate won’t respond” calls. If the wall button works and the remote does not, this is the fix.
- Replacing the control board first. A new board costs between $250 and $500 for most Los Angeles residential gate systems, but boards are rarely the actual cause of failure. Check power, sensors, and connections first. Replacing a board when the problem was a tripped GFCI is an expensive lesson.
- Ignoring the GFCI relationship. Outdoor outlets in Los Angeles are frequently wired to the same GFCI circuit as pool equipment or exterior lighting. If your pool pump trips the outlet, your gate loses power too. Homeowners often do not connect these two systems and assume the gate failed independently.
- Forcing a gate that is binding. If the gate is struggling, hitting the open/close button repeatedly is not going to fix it. It will burn out the motor. A gate that binds against its track or hinges needs the mechanical issue addressed before the motor destroys itself.
- Doing electrical work without disconnecting power. Gate motor capacitors store a charge even after the breaker is off. If you are not comfortable working around electricity, do not open the motor housing. High-voltage components inside a gate operator can cause serious injury. Call a professional instead.
- Calling a generalist instead of a gate specialist. We see this constantly in Los Angeles: a handyman “fixes” a gate, collects $200, and the gate fails again in two weeks because the underlying issue was never diagnosed. Gate systems are specialized, and troubleshooting them properly requires brand-specific knowledge.
- Not documenting the failure pattern. “It works sometimes” is not enough information for any technician to work with. Note what the gate does, when it does it, whether the remote or the keypad is involved, and what the weather was like. Specific symptoms lead to specific diagnoses.
The same principle applies to loop detectors, the wire loops buried under the driveway that tell the gate when a car is present. If your gate opens for one car but not another, or opens and closes erratically, the loop sensitivity may need adjustment. On Gate Motor Repair in Los Angeles calls we frequently find loop detector settings that were never calibrated after installation, and the fix takes ten minutes with a screwdriver. It is a core part of electric gate repair in Los Angeles that gets overlooked by generalist handymen.
Intermittent vs. Consistent Failures: What the Pattern Tells You
The single most useful piece of information in gate troubleshooting is the pattern of the failure. Is the problem intermittent or consistent? This distinction points to entirely different causes and can save you from replacing the wrong part.
Intermittent problems are almost always wiring or connection issues. The gate works fine for three days, then refuses to open for an hour, then works again. The gate opens but stops randomly in the middle of travel. The remote works from 20 feet away one day and only 5 feet the next. These are not motor failures. These are loose wire nuts, corroded terminals, pinched cables, or failing solder joints on the control board. Los Angeles coastal moisture accelerates corrosion on exposed gate wiring, especially in neighborhoods like Venice, Playa del Rey, and San Pedro where salt air reaches inland.
Consistent problems point to a component. The gate has not opened at all for three days. The gate makes the same grinding noise every single time it moves. The remote stopped working and has not worked since. Consistent, repeatable failures mean a specific part has failed: a capacitor, a gear, a receiving antenna, a limit switch. These are diagnosable with a multimeter and a visual inspection, which is what a technician does on arrival.
Write down exactly what happens, every time, for at least a day before calling for service. “Gate opens halfway, stops, and beeps twice” is a much more useful description than “gate is broken.” The specific pattern narrows the diagnosis from thirty possibilities to three.
Brand-Specific Error Codes Translated: LiftMaster, Viking, Elite
Modern gate openers from LiftMaster, Viking, and Elite use diagnostic codes to tell you exactly what is wrong. The problem is that these codes are written for installers, not homeowners. A flashing LED that blinks four times and pauses means something specific, but you would not know that from the manual. Here is a plain-English translation of the most common codes we see on Los Angeles service calls.
LiftMaster gate openers: LiftMaster uses a diagnostic LED on the control board that blinks in patterns. Two blinks and a pause typically indicates a sensor obstruction or misalignment. Three blinks usually means a force reversal was triggered – the gate encountered resistance and backed off. Four blinks points to a limit switch error, meaning the gate does not know where its open and closed positions are. Five blinks often indicates a thermal overload: the motor got too hot, which in Los Angeles summer conditions happens more often than LiftMaster’s manual implies.
Viking openers: Viking models display codes on the control board’s LCD screen or through LED sequences. A “F2” code on a Viking typically means a sensor fault – the photocell circuit is open or the beam is blocked. “F3” commonly indicates a motor overload or an obstruction that is binding the gate. “F4” usually means a limit switch fault. Viking’s residential line is popular in the hillside neighborhoods of Los Angeles where heavy wrought-iron gates put real strain on the drive mechanism, and we see F3 codes frequently on gates that are slightly out of track.
Elite openers: Elite uses a similar diagnostic architecture. A blinking red light at a steady rate usually indicates the gate is in “safe mode” after a sensor or obstruction event. Two blinks followed by a pause typically means the loop detector is reporting a constant vehicle presence, which can happen when a metal object is parked too close to the loop or when the loop itself has failed. Elite openers paired with Mighty Mule accessories are common in Los Angeles driveways that were retrofitted with automation, and the loop detector error is one we trace back to a buried wire that has been cut by landscaping work.
Memorizing every code for every brand is not practical. What matters is that the code exists and that you write it down before calling a technician. A technician who knows you are seeing a LiftMaster four-blink pattern can often diagnose the problem over the phone and arrive with the correct part on the first trip, which is exactly what Warden Gate Repair home service is built around.
Free Checks You Can Run Before Calling a Technician
Some gate problems need a professional with a multimeter and spare parts. Others need a homeowner with two minutes and a willingness to look. Here is a checklist of free, safe checks you can run before you dial for service.
If all five checks come back clean and the gate still will not operate properly, the issue is likely electrical or mechanical and needs a technician with test equipment. That is where Gate Repair in Los Angeles from a specialist beats a generalist handyman: we carry the diagnostic tools and the specific parts for these systems on the truck.
Common Mistakes to Avoid
When to Call a Professional
Some problems are not DIY territory. If the gate makes a grinding or screeching noise, the gear train is failing, and continuing to operate the gate will only make the repair more expensive. If the breaker trips every time the gate is powered on, there is a short circuit that needs electrical diagnosis. If the gate opens but will not close even after cleaning the sensors, the control logic or the safety circuit is malfunctioning. If you smell burning plastic near the motor or see scorch marks on the control board, stop using the gate immediately and disconnect power. Gate motors contain capacitors that store dangerous voltage, and the springs and hinges on heavy gates carry enough tension to cause serious injury if mishandled. Our recommendation: if the problem is not resolved by the free checks above, read our Electric Gate Repair Warning Signs Every Homeowner Should Know or call a gate specialist. Warden Gate Repair offers free estimates in Los Angeles – call (828) 426-7081 and describe your symptoms. We will tell you what we think before anyone gets in a truck.
Frequently Asked Questions
An electric gate that opens but will not close is almost always a safety sensor problem. The photocell sensors on either side of the gate opening are either dirty, misaligned, or blocked by debris. Clean both lenses with a dry cloth and confirm the indicator light is solid. If the problem persists after cleaning, the sensor itself may have failed or the control board may be misreading the sensor signal. This is the single most common service call we answer in Los Angeles.
Electric gate repair in Los Angeles typically costs between $150 and $450 for common issues like sensor replacement, limit switch adjustment, or remote programming. Motor replacement runs higher, usually $500 to $900 depending on the brand and horsepower. Control board replacement falls between $300 and $600. Every Warden Gate Repair job starts with a written price before any work begins, so you will know the exact cost before approving anything. Call (828) 426-7081 for a free estimate.
A gate that stops halfway and reverses is sensing an obstruction, either real or false. Check the track or swing path for debris, check the safety sensors for dirt or misalignment, and check whether the gate hinges or wheels are binding. If the gate encounters resistance anywhere along its travel, the force sensor triggers a reversal. If the track is clear and the sensors are clean, the force sensitivity setting may be set too low and needs adjustment by a technician.
You can safely fix the simple things: cleaning sensors, resetting a GFCI outlet, replacing a remote battery, and clearing debris from the track. Anything involving the motor, the control board, or the high-tension springs and hinges should be left to a professional. Gate motors store electrical charge even when unplugged, and a heavy gate under tension can cause serious injury if it releases. If the free checks in this guide do not resolve the problem, call a gate specialist rather than opening the motor housing.
We service LiftMaster, FAAC, BFT, Linear, Viking, Ghost Controls, DoorKing, Elite, and Mighty Mule openers and gate systems. Our technicians are factory-trained on these nine brands, which means we stock the correct parts and understand the specific failure patterns for each brand. If your opener is one of these brands and you are in the Los Angeles area, call (828) 426-7081 and a real person will answer, day or night.
The model number on most gate openers is printed on a label or sticker located on the side of the motor housing or on the inside of the control box cover. For LiftMaster and Elite units, it is typically a four-digit number like 8160 or 5250. For Viking, it is often a letter-number combination like F-1 or G-5. DoorKing and Mighty Mule units usually have a plate on the motor itself. Having this number ready when you call a technician saves time and ensures the right parts arrive on the first visit.
The Bottom Line
Electric gate troubleshooting is not about guessing. It is about following a sequence: power, sensors, receiver, motor, board. Most gate problems in Los Angeles are simple and cheap to fix – a tripped outlet, a dusty sensor, a dead remote battery. The expensive components fail far less often than people assume. The next time your gate does something strange, run the free checks, write down the symptoms, and only escalate to a paid service call if the basics come back clean. And if you do need help, check out our Gate Motor Repair Maintenance Schedule: What to Do and When, or call a specialist who will tell you exactly who is coming and exactly what it will cost before any work starts. That is what we do at Warden Gate Repair, and it is why we have been serving Los Angeles since 2008.
Written by Cole Rafferty, Owner at Warden Gate Repair, serving Los Angeles since 2008.