
Last updated October 9, 2026
Free on-site gate assessment - hinges, posts, and your LiftMaster or Nice gate operator checked before anything is quoted
The assessment is free and the quote is the invoice.

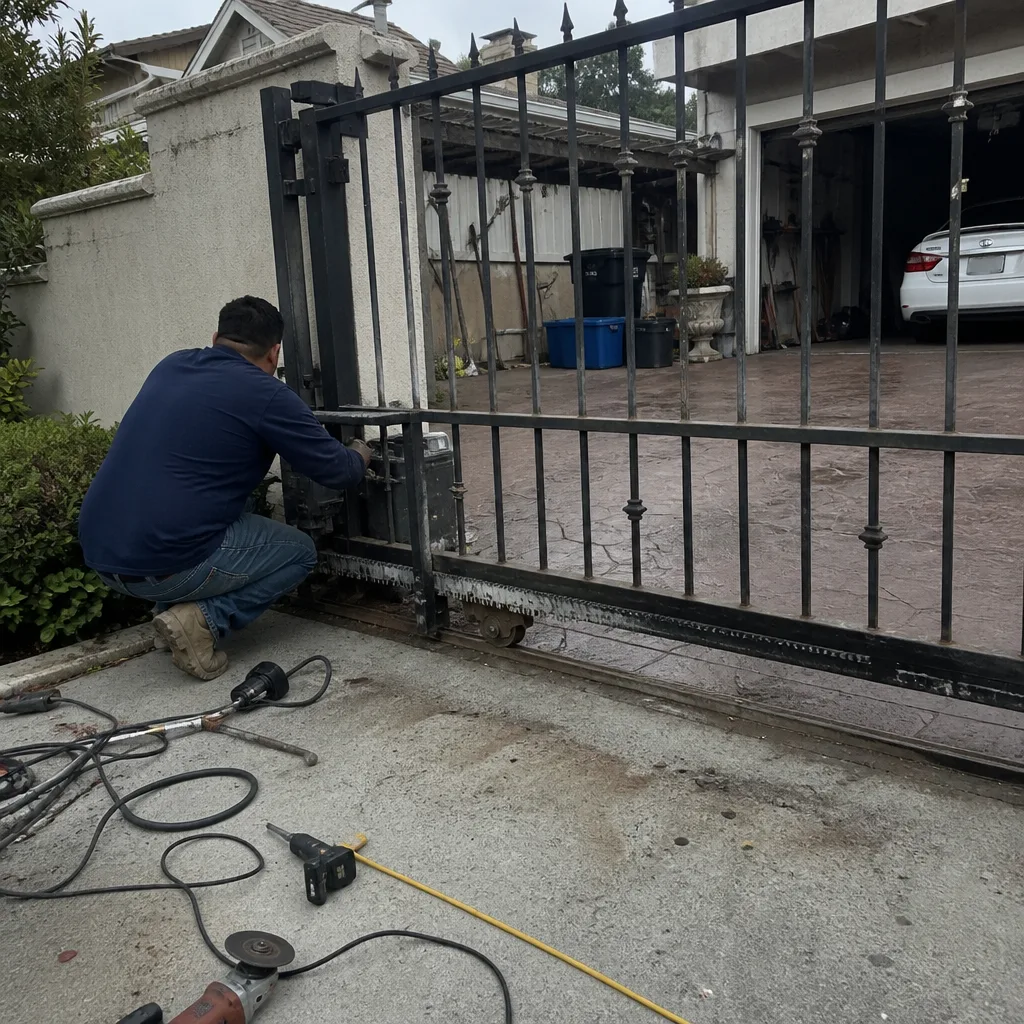 Before
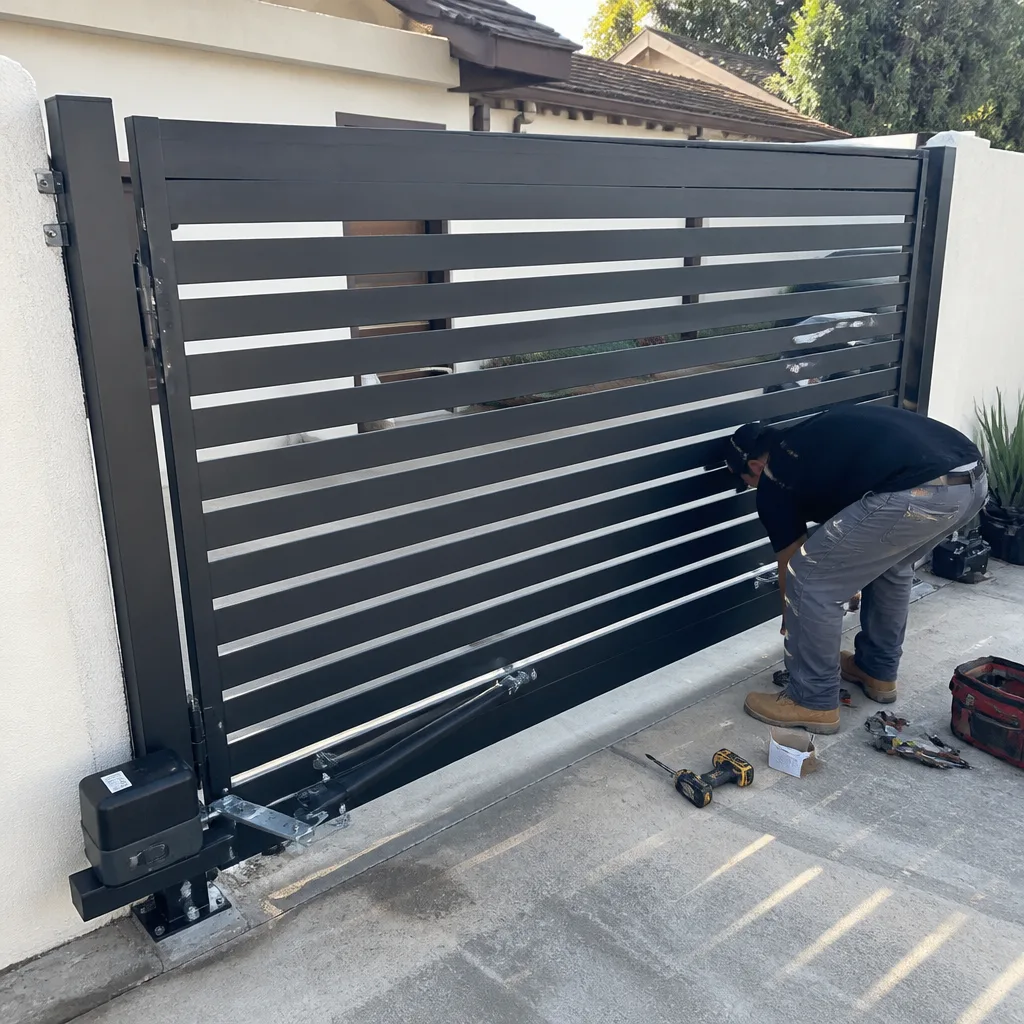 After
After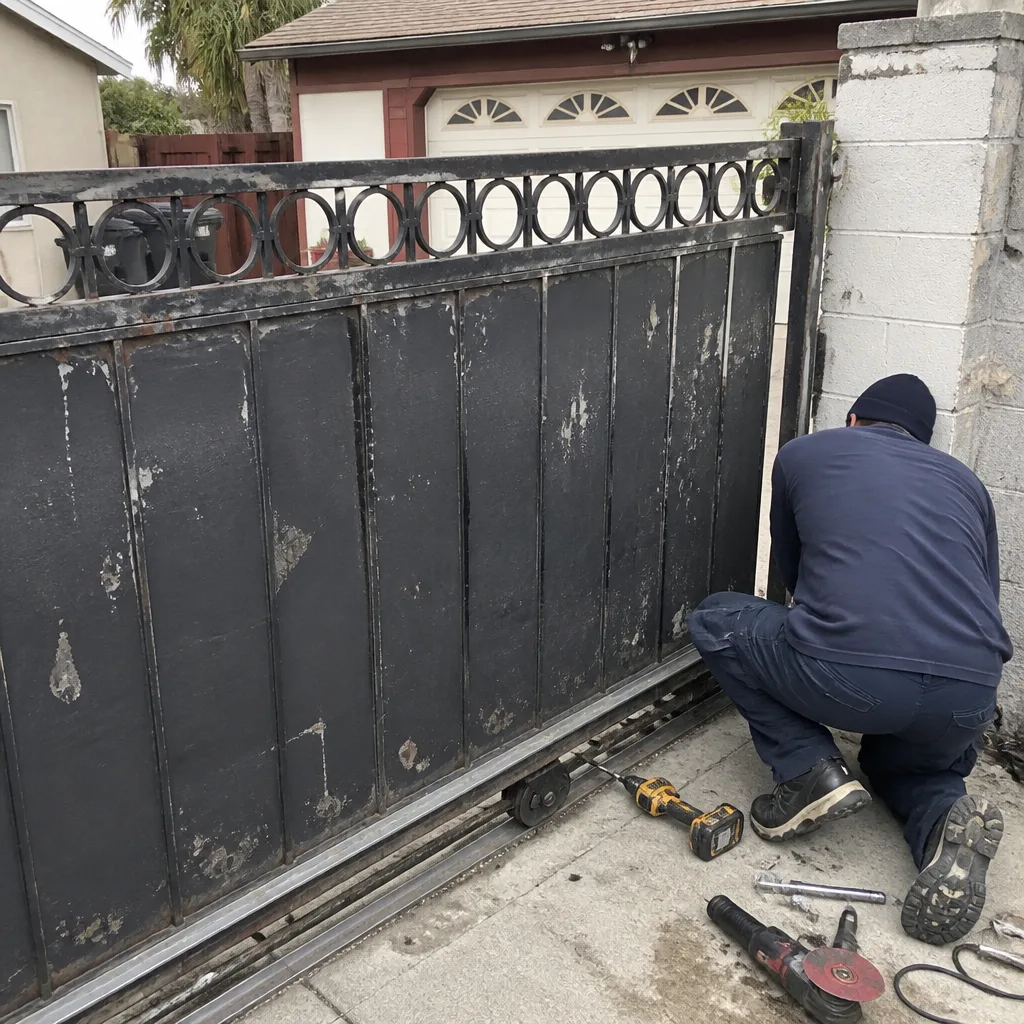 Before
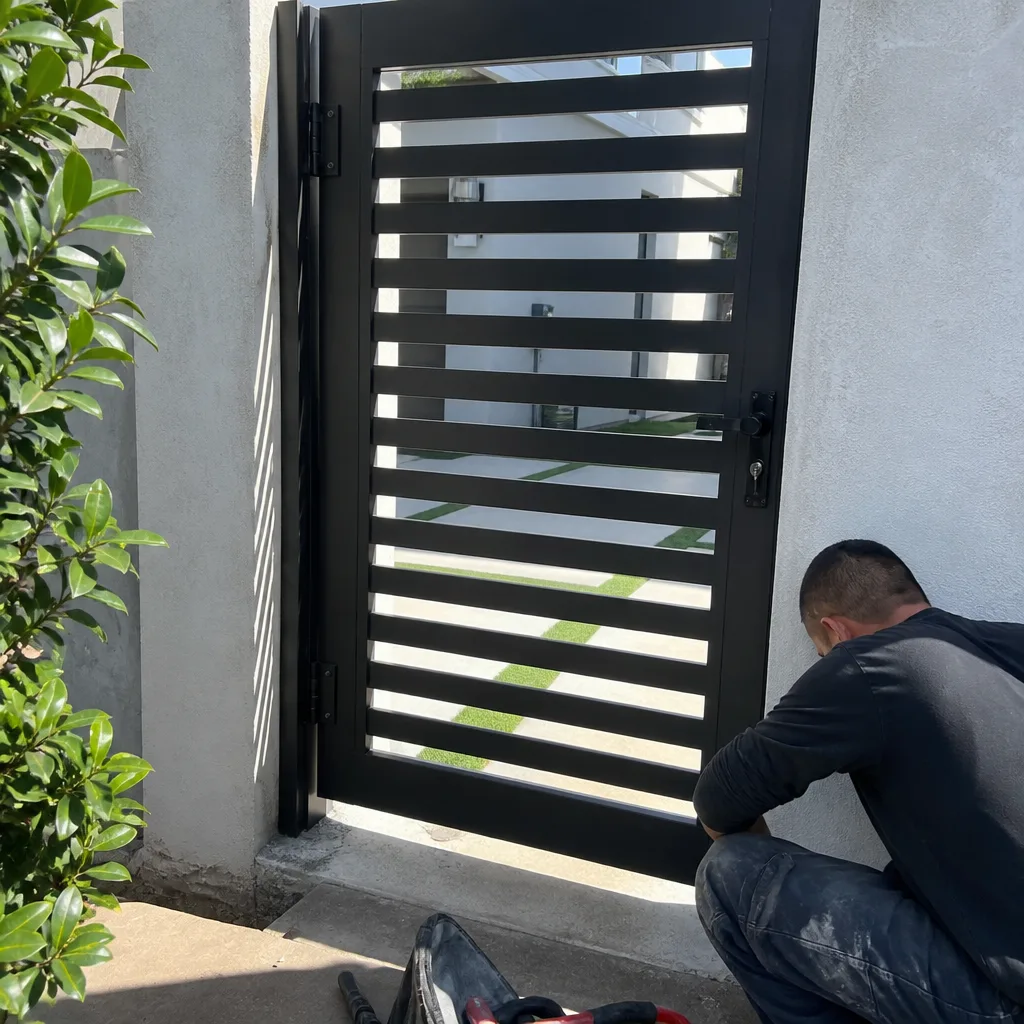 After
After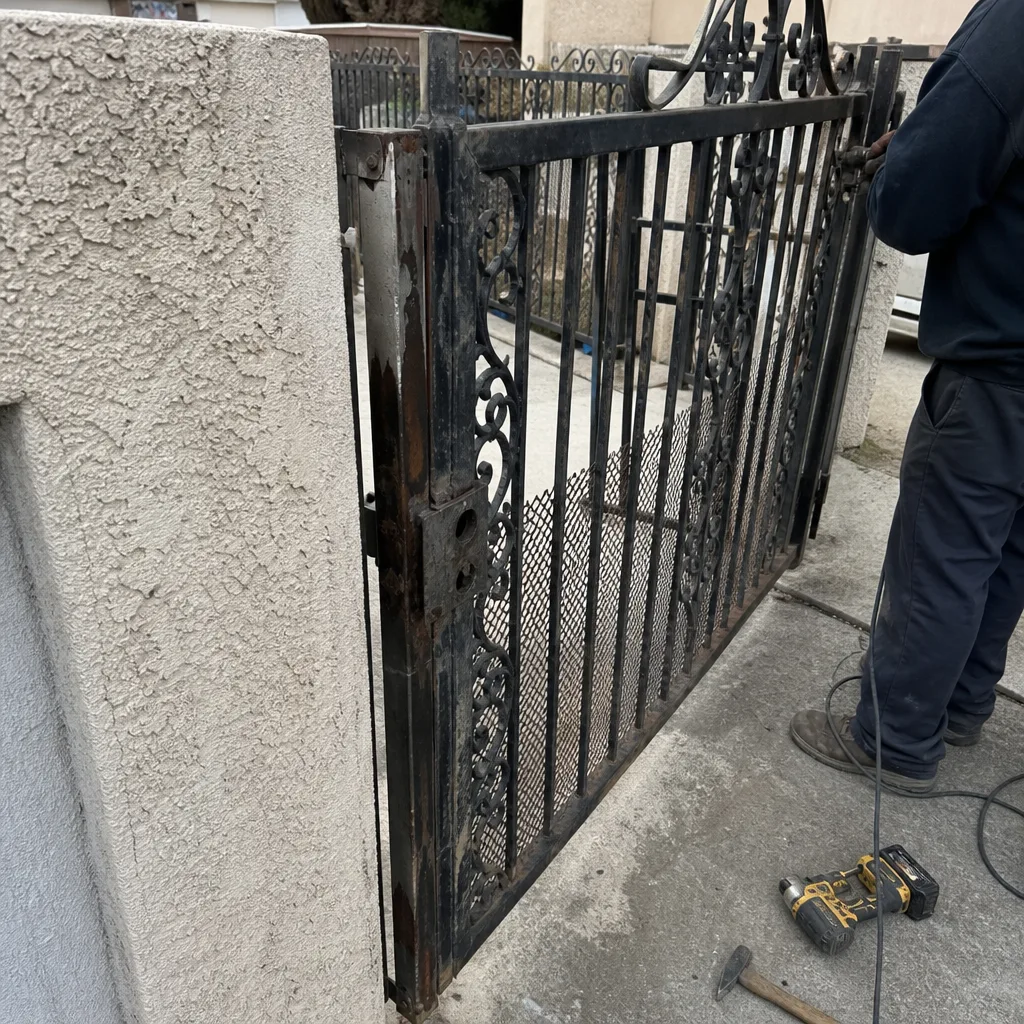 Before
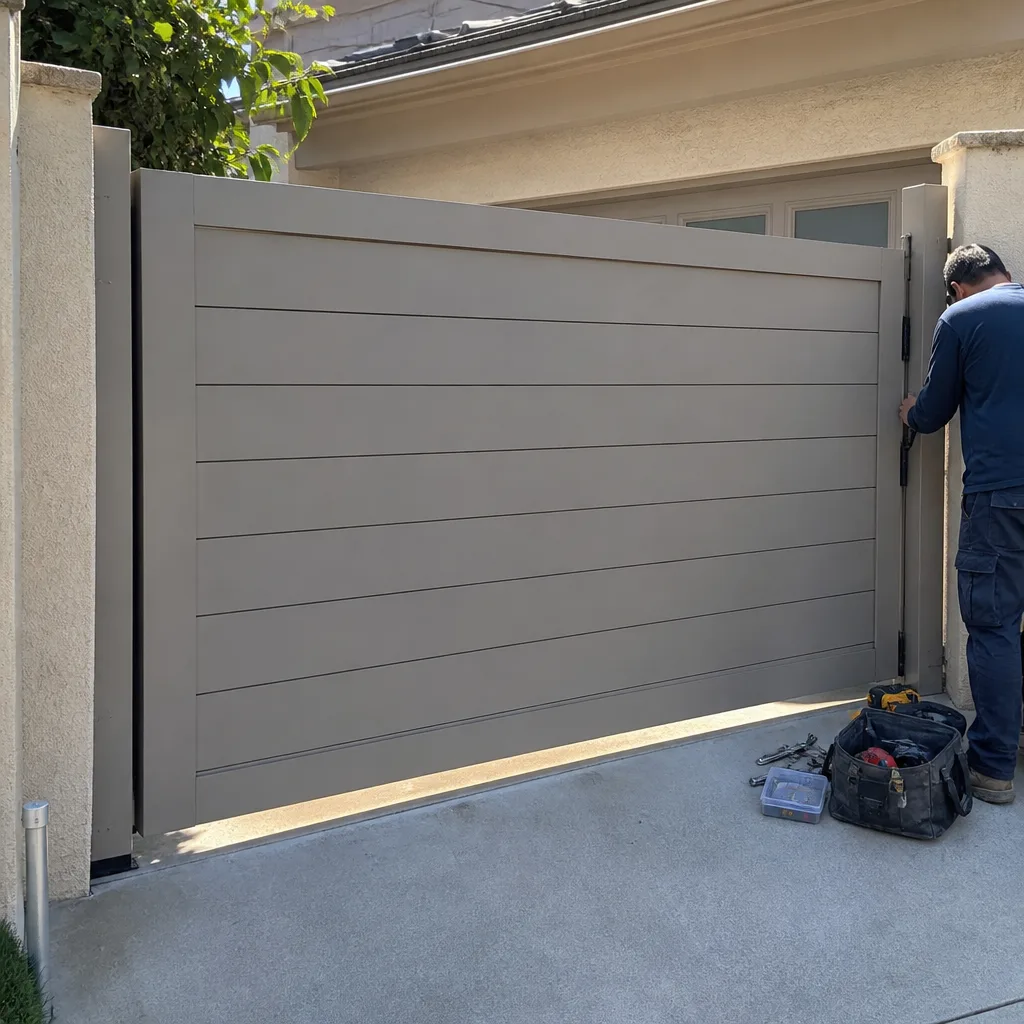 After
AfterElectric Gate Repair Maintenance Schedule: What to Do and When
Corroded terminal connections on a gate operator’s control board cause more “random” failures than any mechanical wear issue you can name. Not broken gears. Not worn chains. Not bent tracks. Just a thin layer of oxidation on a low-voltage connection, slowly degrading the signal until the board misreads its own sensors and decides the gate is obstructed when it isn’t. Cleaning those terminals takes roughly four minutes once a year with a product that costs about three dollars. We’ll show you exactly how. This guide splits electric gate maintenance into the two tracks most people never realize exist: the mechanical side everyone sees, and the electrical side that silently decides whether your gate opens tomorrow. For related reading, see our Electric Gate Repair Troubleshooting: Common Problems and How to Fix Them. Written for Los Angeles homeowners specifically, where coastal salt air and inland dust each attack gate systems in their own way.
Quick Answer
An electric gate needs monthly mechanical checks (hinges, track, wheels, physical obstructions), twice-yearly electrical maintenance (terminal cleaning, battery backup testing, sensor verification), and one annual professional inspection that covers the components you can’t safely reach. The electrical side is what most homeowners skip, and it’s the reason we replace control boards that could have lasted another decade. Budget about 20 minutes per month and one hour twice a year.
Table of Contents
- The Two Tracks of Electric Gate Maintenance
- Monthly Mechanical Checks: 15 Minutes
- Twice-Yearly Electrical Maintenance: The Track Nobody Does
- How to Clean Terminal Connections Safely
- Battery Backup: The Outage Insurance You’re Ignoring
- Testing Safety Sensors and Loop Detectors Without Special Equipment
- What an Annual Professional Inspection Should Include
- Brand-Specific Maintenance Notes: FAAC, BFT, Linear, and Viking
- Common Mistakes to Avoid
- When to Call a Professional
- Frequently Asked Questions
- The Bottom Line
The Two Tracks of Electric Gate Maintenance
Every electric gate is really two machines bolted together. The first is a mechanical gate: hinges, wheels, track, chain, or arm. The second is an electrical system: the gate motor (the box that slides or swings your gate automatically), the control board inside it, the sensors, the battery backup, and the wiring connecting all of it. Most homeowners maintain the first track and ignore the second. They’ll grease hinges, clear leaves from the track, and tighten a sagging chain. Good instincts. But the control board inside the operator housing is accumulating dust, moisture, and corrosion the entire time, and no amount of track cleaning fixes that.
In our experience across Los Angeles, the ratio is consistent: mechanical issues announce themselves with grinding, sagging, or visible wear. Electrical issues don’t. They hide until the gate refuses to open at 6:45 on a Monday morning, or worse, until the safety sensors degrade to the point where the gate can’t tell the difference between a car and a person. That’s why the schedule below splits cleanly. Monthly mechanical. Twice-yearly electrical. Different tasks, different tools, different consequences for skipping them. Learn to spot trouble early in our guide to Electric Gate Repair Warning Signs Every Homeowner Should Know.
Monthly Mechanical Checks: 15 Minutes
Set a recurring reminder. These checks take about a quarter hour and catch most mechanical failures before they become breakdowns. Walk the full length of the gate while it opens, then again while it closes. Watch and listen. A gate that hesitates, shudders, or changes speed mid-cycle is telling you something specific.
- Inspect the track and wheels (slide gates) or hinges and pivot points (swing gates). Remove leaves, dirt, gravel, or anything else that doesn’t belong. In Los Angeles, decomposed granite from landscaping finds its way into slide gate tracks constantly, especially in hillside neighborhoods. Use a leaf blower or stiff brush. Don’t pressure-wash the track while the operator is powered.
- Look at the chain or belt tension. A chain that sags more than about half an inch at its midpoint under light finger pressure is too loose. A chain pulled guitar-string tight is too tight. Both conditions stress the gate motor differently and shorten its life.
- Grease hinges and bearing points with a white lithium or silicone spray. Not WD-40. WD-40 is a solvent and will strip existing lubrication over time. Two or three seconds of spray per hinge point, wipe the excess, done. Coastal Los Angeles homes need this monthly without exception; the salt air accelerates rust on ungreased hardware.
- Check the gate’s physical alignment. Close the gate fully and look at the gap where it meets the post. A gap that widens at the top means hinge wear. A slide gate that doesn’t seat squarely against the stop means wheel wear or track settlement.
- Watch one full open-close cycle for changes in speed or sound. Changes over time are the diagnostic. A gate that used to open in 12 seconds and now takes 20 is working harder, drawing more current, and running hotter. That’s a motor wearing toward failure.
None of these monthly tasks require tools beyond a brush, a can of lubricant, and ten minutes of attention. They don’t require opening the operator housing. That’s the point: keep the mechanical side easy and consistent, and you’ll know within a month when something changes.
Twice-Yearly Electrical Maintenance: The Track Nobody Does
Twice a year, ideally in spring and fall, you should open the operator housing and address the electrical side. If you’re not comfortable doing this, skip to the professional section below. But understand what’s happening in there whether or not you open the box yourself: dust accumulates on circuit boards, moisture condenses in temperature swings, and the low-voltage terminals connecting sensors, keypads, and the motor to the control board develop a thin film of corrosion. That corrosion increases resistance at the connection. The board reads increased resistance as a fault, or a phantom obstruction, or no signal at all. The gate misbehaves. The homeowner calls us in Los Angeles. We clean the terminals. The gate works again. The homeowner is relieved and mildly annoyed that the fix was so simple.
Here’s the twice-yearly electrical checklist:
- Visual inspection of the control board. Look for swollen capacitors, scorch marks, insect nests, or any component that appears burned. Mice and ants both love operator housings, and both cause short circuits.
- Terminal cleaning (see full steps below). Four minutes, three dollars, and the highest-impact maintenance you can do.
- Test the battery backup under load. Unplug the operator from wall power (or flip the dedicated breaker) and run the gate through one full cycle on battery only. If it doesn’t complete the cycle, the batteries are depleted. Full section below.
- Verify safety sensor function. Every electric gate installed in Los Angeles since the early 2000s has some combination of photo eyes, contact edges, or loop detectors. These are life-safety components. Test them. Instructions below.
- Check ground connections. A loose ground wire is the most common cause of intermittent control board behavior we see. It should be firmly attached to the chassis of the operator housing or a dedicated grounding rod.
This twice-yearly schedule is not arbitrary. Los Angeles sees two distinct environmental stressors each year: spring brings Santa Ana winds that drive fine dust into every enclosure, and late fall brings the season’s first heavy dews and occasional rain that introduce moisture. Two checks per year bookend both.
How to Clean Terminal Connections Safely
The goal is to remove corrosion from low-voltage signal terminals without touching anything that carries line voltage. Here’s the safe approach. If any step makes you uncomfortable, stop and call someone who does this professionally.
- Kill power completely. Unplug the operator, flip the dedicated circuit breaker off, and if the unit has a battery backup, disconnect the battery leads. Never clean terminals on a powered board. Let the unit sit for five minutes so capacitors discharge.
- Open the cover and take a photo. A clear phone photo of the wiring before you touch anything is your reassembly reference. This one habit prevents most homeowner-caused damage.
- Identify the low-voltage terminals only. These are the smaller screw terminals, typically labeled with numbers and connected to thin wires: loop detector inputs, keypad wires, photo eye leads, battery leads. The high-voltage side is where the thick 120V or 240V supply wire enters. You will not touch that side at all.
- Apply contact cleaner. Use a plastic-safe electronics contact cleaner (DeoxIT D5 is the standard choice, roughly $15 a can and lasts years). Spray lightly onto each low-voltage terminal and onto the wire ends where they enter the terminals.
- Gently brush with a soft-bristle toothbrush or acid brush. No wire brushes, no sandpaper. You’re removing light oxidation, not machining the terminal. Aggressive abrasion damages the plating and makes future corrosion worse.
- Blow or wipe dry. Let the cleaner evaporate completely, which takes about a minute. Don’t use compressed air, which can drive moisture deeper into the board.
- Check that each terminal screw is snug. Not over-tightened, just snug. Loose terminal screws are the second half of the corrosion equation: they create micro-arcing that accelerates oxidation. A quarter-turn of snugness on all low-voltage screws fixes a surprising number of intermittent issues.
- Reconnect the battery, close the cover, restore power, and run a full cycle. Listen for unusual clicking from the board. If the gate behaves, you’ve just done the highest-value maintenance task in this entire guide.
Warning: the inside of a gate operator contains capacitors that can hold a dangerous charge even with power removed, and some units have line voltage present inside the housing at all times. If the terminals are corroded enough that cleaning doesn’t resolve an ongoing issue, the board itself may be damaged. At that point, call a professional. This is genuinely dangerous equipment, not a weekend project.
Battery Backup: The Outage Insurance You’re Ignoring
If your gate has a battery backup and you’ve never tested it, assume it doesn’t work. Battery backup systems fail silently. They don’t beep, don’t flash, don’t leave a note. They just don’t engage when the power goes out, and you find out during the exact moment you most need the gate to open: a blackout, an evacuation warning, or a normal Tuesday when the neighborhood transformer gives up. Los Angeles power outages, especially during heat waves and wind events, are not rare.
Replacement intervals vary by brand and battery type. Here’s a working reference for the brands we service most:
- FAAC: Sealed lead-acid batteries in FAAC operators typically last 3 to 5 years in Los Angeles climate conditions. Coastal installations run shorter; the marine layer accelerates internal corrosion. Replace at 4 years regardless.
- BFT: Similar lead-acid chemistry, similar 3 to 5 year window. BFT control boards are particularly sensitive to undervoltage from weak batteries, so if your BFT board is behaving erratically, test the batteries before assuming the board is failing.
- Linear: Linear’s battery-backed units (mostly in the swing and slide gate line) use either lead-acid or lithium depending on model year. Lithium variants can go 7 to 8 years. Check the label on the battery itself for chemistry; if it says Li-ion, extend the interval.
- Viking: Viking battery trays often hold two batteries wired in series. Test them as a set, not individually. One weak battery in a series pair will drag the healthy one down prematurely, and replacing just one creates a mismatch that shortens life for both.
Battery maintenance schedule: Test under load twice per year (spring and fall, alongside the electrical check above). Do this by cutting AC power at the breaker and running the gate one full cycle. If it completes the cycle at normal speed, the batteries are functional. If it slows noticeably, struggles, or stops, the batteries are near end of life. Replace them before you need them, not after. The cost of a replacement battery set is trivial compared to the cost of a gate that won’t open when the power is out and you’re on the wrong side of it.
If your gate doesn’t have a battery backup: consider adding one. A gate motor wired directly to line power becomes a locked steel door during an outage. Manual release mechanisms vary by model; some are accessible and obvious, some require tools and a flashlight and calm hands in the dark. We’ve walked Los Angeles homeowners through too many late-night manual releases to pretend the manual path is a real solution.
Testing Safety Sensors and Loop Detectors Without Special Equipment
Safety devices on an electric gate exist to prevent the gate from injuring someone. Photo eyes, contact edges, and loop detectors are the three common types. All three can be tested by a homeowner with no specialized tools, and all three should be tested twice a year minimum. Here’s how each type works and how to verify it’s working.
Photo eyes (photo beams): The little paired sensors mounted low on either side of the gate opening. One sends an invisible beam; the other receives it. If something breaks the beam while the gate is closing, the gate should immediately stop and reverse. Test it with the gate mid-cycle: while the gate is closing, pass your hand through the beam path at ankle height. The gate must stop and reverse. If it doesn’t, the photo eyes are dirty, misaligned, or the wiring to them has failed. Clean both lenses with a dry cloth first. If the test still fails, call a professional. This is a life-safety device; a failing photo eye on a closing gate can be catastrophic.
Contact edges (safety edges): The rubber or aluminum strips along the leading edge of the gate that sense physical pressure. Test by applying firm pressure with your hand along the edge while the gate is closing. The gate should reverse. If the edge is cracked, brittle, or missing chunks, replace it. In Los Angeles sun, rubber edges degrade fast; UV damage is the number one cause of edge failure we see on west-facing gates in places like Westchester, Playa Vista, and the west San Fernando Valley.
Loop detectors: The wire loops buried under the driveway that tell the gate a car is waiting. Test by driving your car onto the loop and watching whether the gate opens automatically. If it works, fine. If it doesn’t, but the gate opens from the remote, the loop itself may be cut or the detector board inside the operator is failing. Loop failures require a professional with a locating tool and a wire tracer. You can’t visually diagnose a buried loop.
What an Annual Professional Inspection Should Include
Once a year, a trained technician should perform the full inspection that most homeowners can’t do safely or don’t have equipment for. This is not a gate “tune-up” from a generic handyman. This is a gate-specific service call from someone who carries gate parts on the truck. Here’s what a real annual inspection covers, and how to verify the tech actually did it.
- Gearbox and motor inspection. The technician should open the gearbox housing and check for metal shavings in the grease, play in the drive gears, and any scoring on the motor shaft. Metal shavings are the early warning sign of gear failure. You can ask to see them. A tech who opens the gearbox will have grease on their gloves and can show you the evidence.
- Torque and limit switch calibration. The gate should be set to reverse or stop when it hits an obstruction. Over time, limit switches drift. The tech should run the gate through at least three complete open-close cycles and fine-tune the stops so the gate seats fully without slamming or reversing prematurely.
- Capacitor testing. The run capacitor in the motor acts like a battery that helps the motor start. Capacitors degrade with age and heat. A tech with a multimeter can test capacitance value against the rating printed on the side of the component. A capacitor reading 10% or more below rated value should be replaced proactively.
- Full sensor verification. The tech should test every safety device on the gate: photo eyes, contact edges, loops, and any gate-mounted warning devices. They should also clean sensor lenses and check alignment with a level.
- Control board inspection. The tech should pull the board, look for cracked solder joints or bulging capacitors, and check the operating voltage at the board. In Los Angeles, where summer heat regularly pushes operator housings past 130°F internal temperature, solder joints crack faster than in cooler climates.
- Ground integrity test. The ground connection should be measured with a multimeter for resistance. A corroded or loose ground is invisible to the homeowner and causes the most frustrating intermittent problems in the industry.
How to verify the tech actually did the work: ask them to show you the gearbox and point out anything they saw. Ask for the capacitor reading in writing. Ask which limit switch they adjusted and what the before/after position was. A technician who performed the inspection will answer these instantly and with specifics. A technician who plans to fake it will start talking in vague terms about “overall condition.” In Los Angeles, we have a lot of both kinds.
Expect to pay between $150 and $300 for a thorough annual gate inspection in the Los Angeles market, depending on gate size, access, and operator type. Some companies apply the inspection fee toward repairs if you proceed with recommended work. That’s a reasonable arrangement.
Brand-Specific Maintenance Notes: FAAC, BFT, Linear, and Viking
Different manufacturers design their operators differently, and those design differences create different maintenance priorities. Here’s what we see from the brands we service most across Los Angeles.
FAAC: FAAC hydraulic operators are built like industrial equipment and tolerate neglect better than most. The weak point in residential FAAC installations is hydraulic fluid level. Low fluid causes slow operation, overheating, and eventually pump failure. Check the fluid reservoir annually. If the level drops more than slightly year over year, there’s a leak that needs finding. The motor pump compressor on a FAAC costs more than most homeowners expect to spend on their entire gate repair in Los Angeles, so fluid checks matter.
BFT: BFT control boards are densely packed and sensitive to voltage irregularities. The most common BFT failure mode we see in coastal Los Angeles neighborhoods is board damage from corrosion on the terminal block, which shortens the paths and causes components to fail. The terminal cleaning routine described above is not optional maintenance on a BFT unit; it’s the difference between a board that lasts eight years and one that lasts three. If your BFT gate opens only intermittently, assume terminals before assuming electronics.
Linear: Linear operators use a chain-driven slide mechanism on most models, and the chain is the maintenance priority. Linear chains stretch over time, and the tensioner needs periodic adjustment. A loose Linear chain slaps against the guide and wears the sprockets, which then wear the chain faster in a compounding failure. Monthly tension checks on Linear chain-drive units are worth more than any other single maintenance task.
Viking: Viking operators, particularly their slide gate models, use a belt-drive system rather than chain on many residential units. Belts don’t stretch the way chains do, but they do crack and dry out in Los Angeles heat. Inspect the belt for surface cracking during the twice-yearly electrical check. A cracked belt will fail suddenly and without the warning squeaks a chain provides. If you see surface cracks, replace the belt before it strands you with a stuck gate.
Common Mistakes to Avoid
- Skipping the electrical side entirely. The mechanical track is visible and satisfying; the electrical track is invisible and easy to forget. The control board costs more than any mechanical component on most gates. Maintain the expensive part.
- Using the wrong lubricant. WD-40 on chains, hinges, and bearing points is the most common maintenance error we see. It strips existing grease and leaves the metal drier than before. Use white lithium or silicone spray.
- Pressure-washing the operator housing. Gate operators are not waterproof, and pressure washers force water past seals and gaskets directly onto live electronics. We’ve replaced boards after exactly this scenario in Los Angeles neighborhoods like Encino and Sherman Oaks where homeowners wash their driveways regularly.
- Never testing the battery backup. A battery that hasn’t been tested in four years is a battery that won’t work when you need it. Testing takes five minutes twice a year. Do it.
- Ignoring changes in gate speed. A gate that slows down over the course of weeks is telling you something: low hydraulic fluid on a FAAC, a stretching chain on a Linear, a dying capacitor on a BFT. Slowness is a symptom, not a personality trait.
- Deferring sensor repairs because “the gate still works.” Sensors exist to protect people. A gate with a failed photo eye is a lawsuit waiting to happen, and more importantly, a potential injury waiting to happen. Test sensors more carefully than you test anything else on the gate.
- Performing electrical work on a powered operator. If you don’t disconnect power and battery before touching terminals, you’re risking a shock from line voltage or a short that destroys the board. Shut it down. The five minutes it takes to do it safely is less than the cost of a new control board.
When to Call a Professional
Some maintenance tasks belong in a professional’s hands, period. If you see scorch marks or bulging capacitors on a control board, call a professional. If your gate reverses unexpectedly during closing and you’ve already cleaned and tested the photo eyes, call a professional. If the operator hums but doesn’t move, call a professional; that’s often a failed capacitor or locked gearbox, and both require parts and knowledge. If your battery backup is beyond its replacement interval and you don’t know what batteries to buy, call a professional. If you’ve never been comfortable opening the operator housing in the first place, that’s the best reason to call: you’re not paying for the 20 minutes of work, you’re paying for the judgment that prevents a $600 board replacement. Warden Gate Repair offers free estimates in Los Angeles, and we provide a written price before any work starts, every time. Call (828) 426-7081.
Frequently Asked Questions
Monthly for mechanical tasks like track cleaning, chain inspection, and hinge lubrication, plus twice-yearly for electrical tasks like terminal cleaning, battery testing, and sensor verification. Expect one annual professional inspection on top of that. The monthly routine takes about 15 minutes, and the electrical routine takes under an hour twice a year. Call (828) 426-7081 if you’d like a Los Angeles technician to handle the annual inspection.
Corrosion on low-voltage terminal connections inside the operator housing causes more erratic behavior and board failures than any mechanical wear item. Terminals oxidize over time, resistance increases, and the control board starts reading phantom faults. Four minutes of terminal cleaning twice a year prevents a disproportionate share of the “random” failures we’re called out to diagnose in Los Angeles. Call (828) 426-7081 if your gate is behaving intermittently; estimates are free.
Most lead-acid gate batteries last 3 to 5 years in Los Angeles climate conditions, with coastal installations running on the shorter end due to marine layer corrosion. Lithium variants can last 7 to 8 years. Test your batteries under load twice a year by cutting AC power and cycling the gate; if it struggles, replacement is due. Call (828) 426-7081 and we’ll test your battery backup as part of a free estimate.
You can clean low-voltage terminals yourself if you follow the safe procedure: kill all power including battery backup, work only on the small screw terminals, use plastic-safe contact cleaner, and don’t touch the high-voltage side of the board. If any step makes you uncomfortable, stop. The inside of a gate operator contains capacitors that can hold charge even when power is removed, and some units have line voltage inside the housing at all times. If you’d rather not risk it, call (828) 426-7081 for service from a Threshold Verified technician.
Without a battery backup, your gate becomes a locked steel barrier the moment power goes out. Manual release mechanisms exist on most models, but accessing them in the dark during an outage is not a reliable plan. If your gate is wired directly to line power, consider adding a battery backup. Call (828) 426-7081 for an exact quote on adding battery backup to your existing operator; estimates are free.
A thorough annual gate inspection from a gate-specific professional in Los Angeles typically runs between $150 and $300, depending on gate size, access, and operator type. Some companies apply the inspection fee toward any repairs you approve. Be wary of inspections that cost significantly less; they’re often performed by generalists who don’t open the gearbox or test capacitor values. Call (828) 426-7081 to schedule a proper inspection with a factory-trained gate technician.
The Bottom Line
Electric gate maintenance is not one schedule; it’s two. The mechanical track is monthly and visible: tracks, chains, hinges, lubricant. The electrical track is twice-yearly and mostly ignored: terminals, batteries, sensors, grounds. The failures that strand you and cost the most money come from the track you’re not maintaining. Four minutes of terminal cleaning, a five-minute battery test, and a sensor check with your own hand costs you roughly one hour per year and prevents the majority of premature motor and control board failures we see across Los Angeles. If you do nothing else from this guide, do the terminal cleaning. If you’d rather have a professional do everything, Warden Gate Repair serves all of Los Angeles with free estimates and written upfront pricing. Browse more guides & resources on gate maintenance and repair. Call (828) 426-7081.
Written by Cole Rafferty, Owner at Warden Gate Repair, serving Los Angeles since 2008.