
Last updated October 9, 2026
Free on-site gate assessment - hinges, posts, and your LiftMaster or Nice gate operator checked before anything is quoted
The assessment is free and the quote is the invoice.

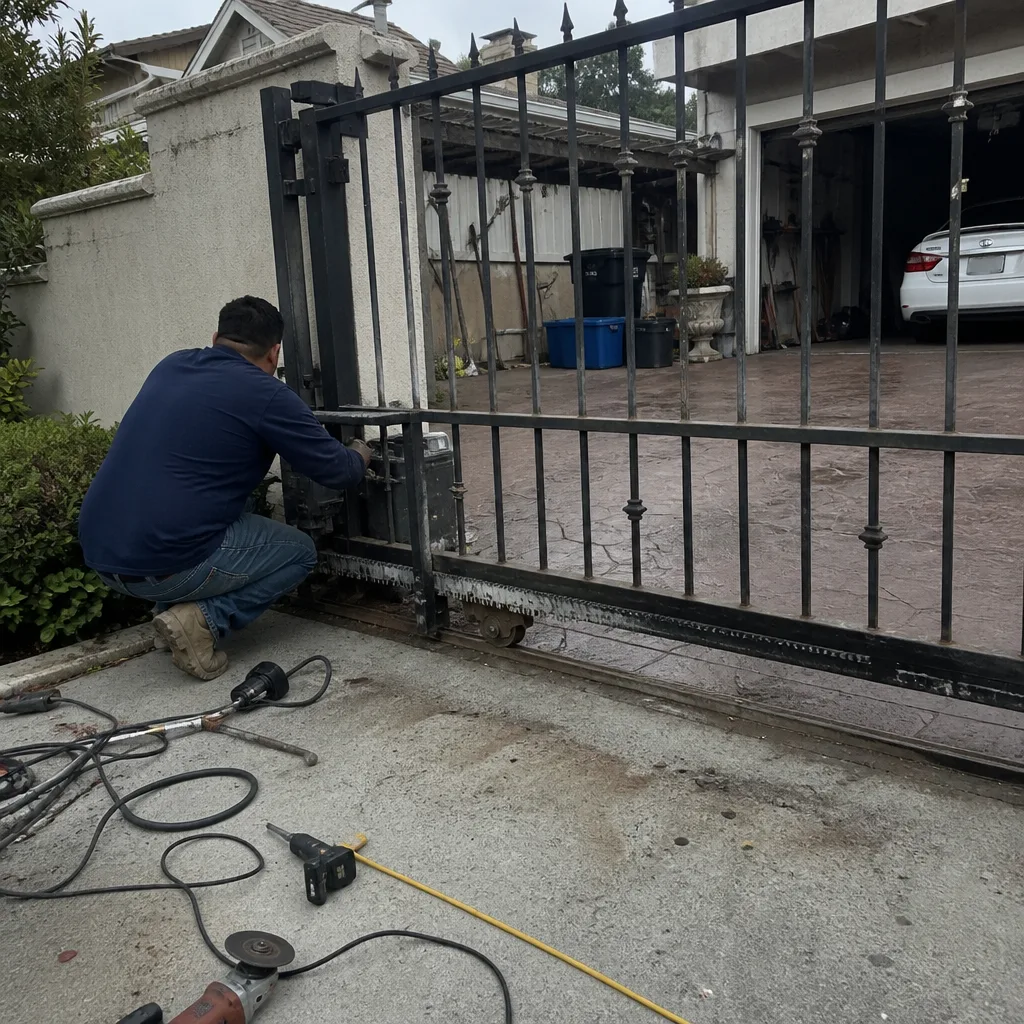 Before
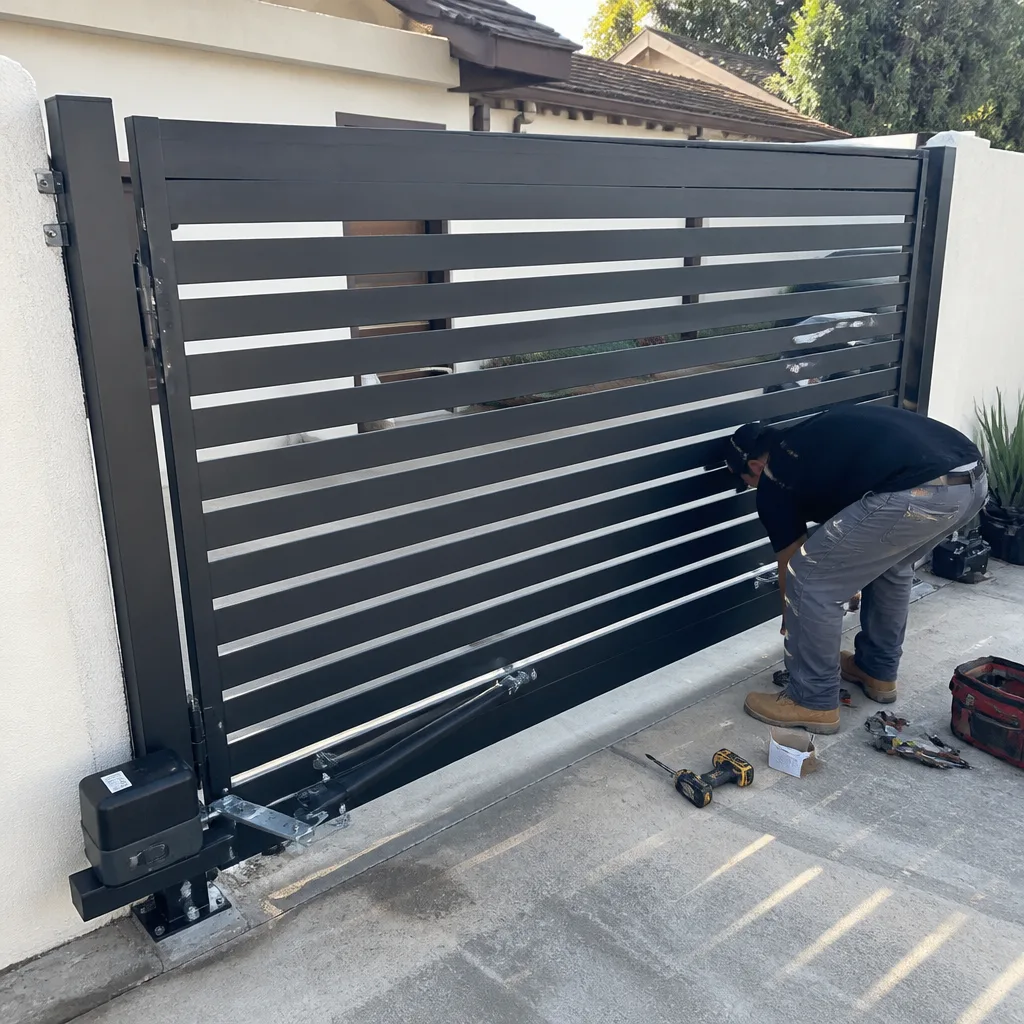 After
After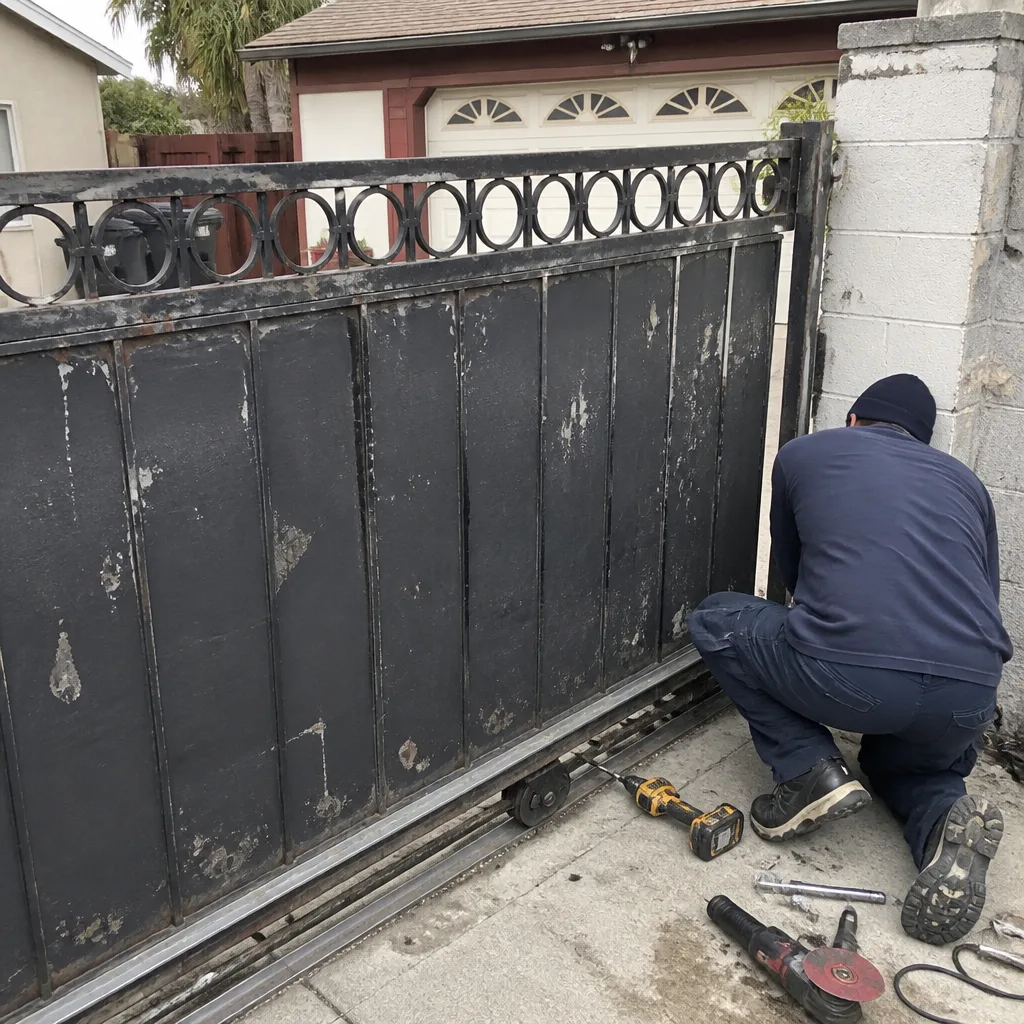 Before
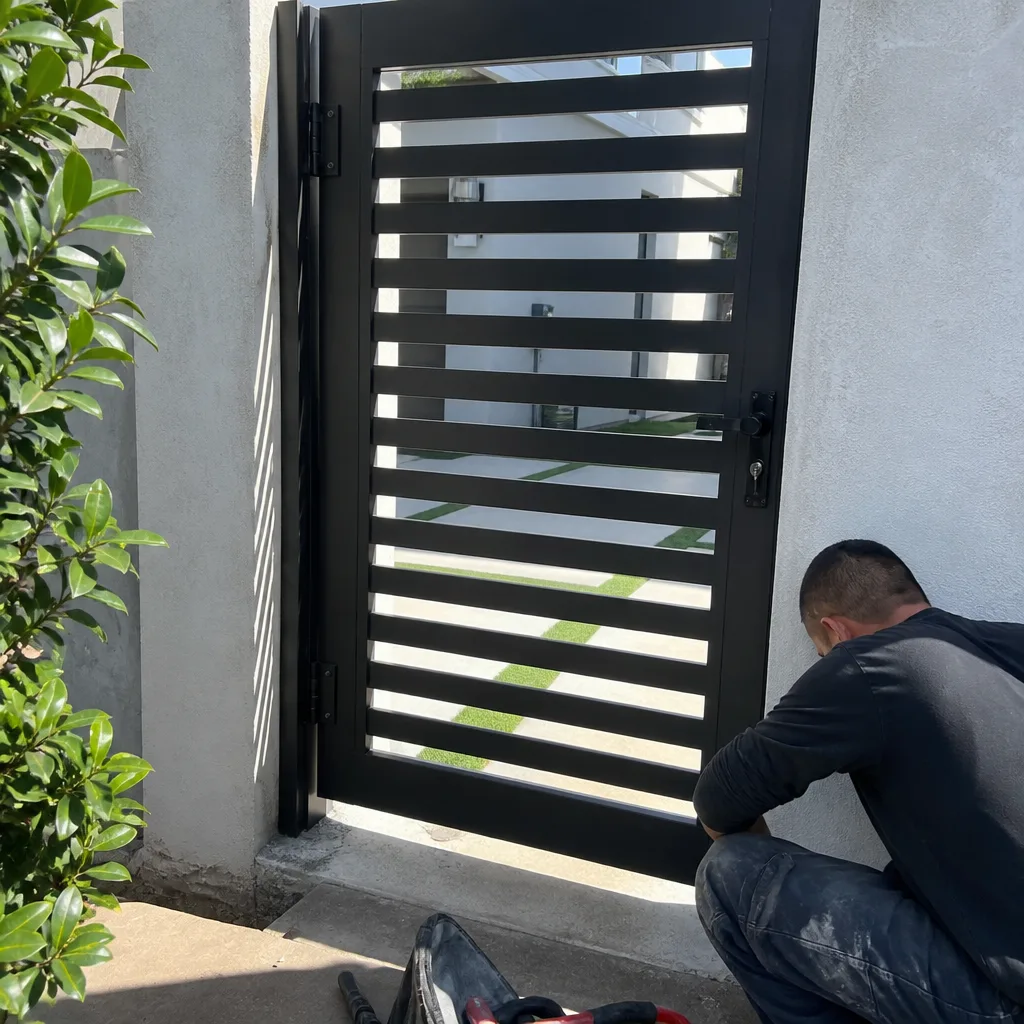 After
After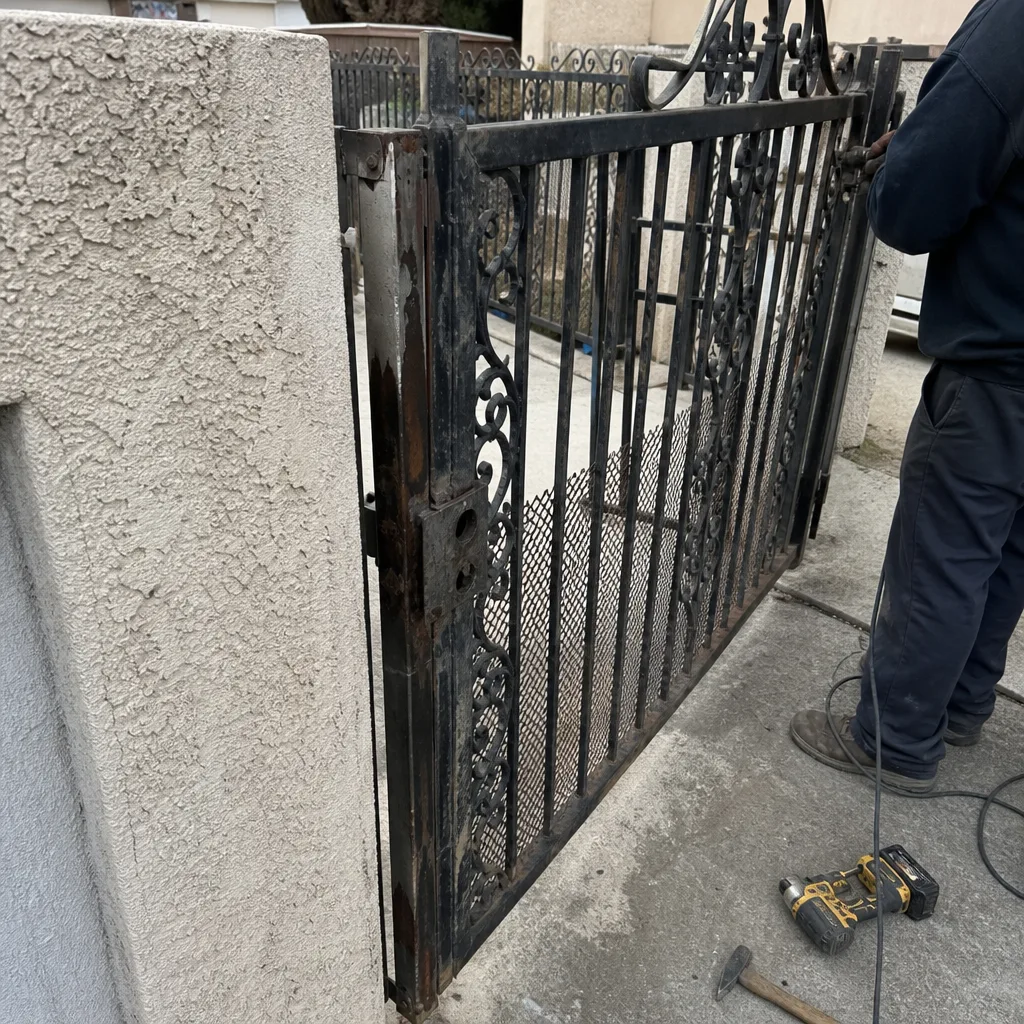 Before
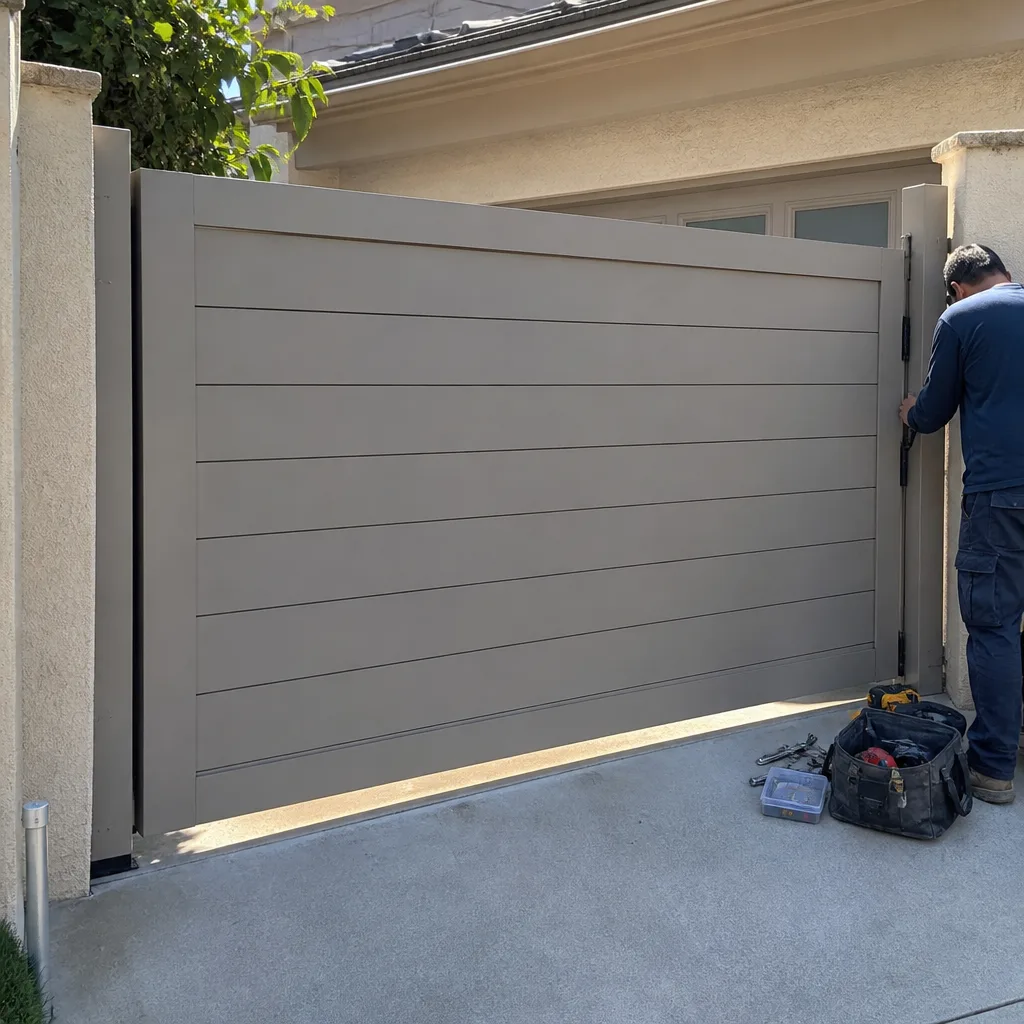 After
AfterGate Motor Repair Troubleshooting: Common Problems and How to Fix Them
Here’s a counterintuitive fact from the repair bench: roughly a third of the gate motors we replace in Los Angeles were never the actual problem. The motor had been condemned by a previous diagnosis, but the real fault was a corroded wire, a misaligned limit switch, or a control board that lost its programming. What this tells us is that troubleshooting a gate motor isn’t about memorizing symptoms: it’s about knowing which of five fault categories you’re looking at before you spend a dime. This guide walks you through those five categories, shows you how to read the diagnostic signals your operator already displays, and gives you the same decision-tree logic our Gate Motor Repair services technicians use. By the end, you’ll know when a fix is simple, when it’s dangerous, and exactly which questions to ask any technician who tells you to replace a part.
Quick Answer
Most gate motor problems fall into five categories: power supply failure, control board faults, motor or capacitor issues, mechanical obstruction, and safety sensor misalignment. A homeowner can isolate the likely category using simple observation and a multimeter without touching high-voltage components, and that diagnosis determines whether the fix costs $50 or $500.
Table of Contents
- The Five Fault Categories That Explain Every Gate Motor Problem
- Step One: Test the Power Supply (No Electrical Expertise Required)
- Step Two: Read the Beep Codes and LED Blink Patterns
- Step Three: Check the Safety Sensors Before Touching Anything Else
- Step Four: Isolate Mechanical Obstruction from Motor Failure
- Step Five: The Capacitor Question and When the Control Board Is Really at Fault
- Which Troubleshooting Steps Void a Warranty (and Which Are Safe)
- The Questions to Ask a Technician Before Authorizing Any Part Replacement
The Five Fault Categories That Explain Every Gate Motor Problem
Every gate motor failure we’ve diagnosed in Los Angeles, from Bel Air to Long Beach, lands in one of five buckets. The repair world wastes enormous time bouncing between these categories at random. When you can name the category, the fix becomes predictable.
The five categories are: power supply (the gate isn’t receiving electricity, or it’s receiving the wrong voltage), control board (the circuit board that runs the logic has failed or lost programming), motor/capacitor (the motor itself or the capacitor that starts it), mechanical obstruction (the gate physically cannot move freely), and safety sensor (the photocell or edge sensor falsely detects an obstruction and stops the gate).
Here’s the diagnostic shortcut we use: power problems are silent and affect everything. Control board problems are intermittent or produce error codes. Motor problems hum but don’t move. Mechanical problems strain and grind. Sensor problems stop the gate mid-cycle and reverse it. One of these descriptions will match what your gate is doing right now, and that match is your starting point.
Warden Gate Repair home records from Los Angeles service calls show that power supply and safety sensor issues account for nearly half of all “dead motor” calls, which is why we never start by recommending a motor replacement.
Step One: Test the Power Supply (No Electrical Expertise Required)
Before you suspect anything expensive, confirm the gate has power. This is the single most skipped step in gate motor repair troubleshooting, and it’s the reason so many homeowners in Los Angeles pay for a service call that ends with a technician flipping a GFCI outlet back on.
Here’s how to test safely without touching any component inside the motor housing:
- Check the obvious. Is the gate operator plugged into a working outlet? Many residential gate motors connect via a simple power cord. If it’s on a GFCI circuit (common in Los Angeles homes built after 1990), press the reset button on the outlet itself.
- Check the breaker. Gate motors are often on a dedicated circuit. Find the breaker labeled gate, opener, or exterior, and confirm it hasn’t tripped. If you’re unsure, a non-contact voltage tester near the power input will tell you whether current is reaching the unit without opening the housing.
- Test the battery backup. Many modern operators, including LiftMaster and Ghost Controls models, have a DC battery backup. The motor may run on battery while the AC supply is dead. If the gate works slowly on battery, your controller has power but the charging circuit or AC input is compromised. This is a board-level fix, not a motor replacement.
- Use a multimeter. If you’re comfortable with a basic digital multimeter, set it to AC voltage and test at the power input terminals. A reading below 110 volts in Los Angeles means the supply is weak, often due to voltage drop from a long wire run. The gate motor may click without turning. This is fixable with a heavier-gauge wire or a voltage booster.
If any of this feels uncomfortable, don’t open the housing. A gate motor in Los Angeles runs on line voltage (120V or 240V AC), and an energized board can deliver a serious shock. The safe move is to call a pro. Warden Gate Repair provides free estimates in Los Angeles, and the technician will arrive with a name and photo sent to you in advance.
Step Two: Read the Beep Codes and LED Blink Patterns
Your gate operator is already telling you what’s wrong. LiftMaster and Linear units, two of the most common brands installed across Los Angeles, use beep patterns and LED blink sequences to report faults. The homeowner who learns to read these codes before calling saves a diagnostic charge and prevents misdiagnosis.
LiftMaster operators use a diagnostic LED on the control board. The blink count corresponds to a fault code:
- One blink, pause, repeat: No RPM signal. The motor isn’t spinning, or the RPM sensor has failed. This could be the motor, the capacitor, or the harness.
- Two blinks, pause, repeat: Entrapment detected or RPM sensor reversed. Often a safety sensor issue, not a motor problem.
- Three blinks, pause, repeat: Force profile failure. The gate encounters more resistance than it was programmed to accept. This is typically mechanical obstruction, not the motor.
- Four blinks, pause, repeat: Motor overcurrent. The board is seeing excessive current draw from the motor, which can mean a failing capacitor or a motor winding that’s beginning to short.
- Five blinks, pause, repeat: Learner failure or board fault. This is a control board problem, and replacing the motor won’t help.
Linear operators use similar diagnostic patterns, often with a red LED that blinks in numbered sequences. Their force adjustment and limit settings are mechanical in older models, which means a “dead” gate is frequently just a limit switch that has drifted out of position. In our experience across Los Angeles, older Linear models in coastal areas like Pacific Palisades and San Pedro suffer from limit switch corrosion more often than anything else.
If you can report the exact blink pattern to a technician over the phone, you’ll likely get a written price range before anyone even visits. That’s the standard we’ve built at Gate Motor Repair in Los Angeles.
Step Three: Check the Safety Sensors Before Touching Anything Else
The safety sensor is the most misdiagnosed component in gate motor troubleshooting. When a photocell or contact edge misbehaves, the gate acts exactly like it has a dead motor: it won’t open, won’t close, or reverses immediately after starting. A homeowner who opens the motor housing at this point is looking in entirely the wrong place.
Here’s what to check, in order:
- Photocell alignment. Most gate systems use a pair of photocells: one emits an infrared beam, the other receives it. Knock one out of alignment, and the system assumes something is in the path. In Los Angeles, particularly in the hills of Silver Lake and Echo Park, ground shift after winter rains knocks photocells out of alignment constantly. Look for an LED on each cell. If the receiver light is off or blinking, realign the cell until the LED turns solid.
- Reflective surface problems. Some installations use a reflector instead of a second photocell. A dirty or sun-faded reflector produces the same false obstruction. In Los Angeles, UV damage from intense summer sun degrades reflectors within a few years. When ours fail, a $15 replacement beats a $400 board.
- Contact edge or loop detector faults. If the gate starts to close and immediately reverses, the contact edge (the rubber strip that detects a vehicle or person) may be sending a false signal. A failed edge is often the mechanical equivalent of a sensor fault, and in our experience, it’s the most common cause of “the gate reverse half-way” calls for sliding gates in Los Angeles.
- Reset the sensor logic. After correcting alignment, power cycle the operator: turn it off at the breaker, wait 30 seconds, turn it back on. The board re-learns the sensor state on startup.
Every one of these checks is safe and doesn’t void a warranty. If the gate still refuses to move after all four, the fault is likely in the control board’s sensor input circuit, not the motor.
Step Four: Isolate Mechanical Obstruction from Motor Failure
The test that separates a cheap fix from an expensive one: does the motor sound like it’s trying, or is it silent? A gate that grinds, strains, or moves a few inches before reversing is fighting something physical. That’s a mechanical problem. A gate that hums without moving is an electrical or motor problem.
For sliding gates common in Los Angeles driveways:
- Check the track. A single stone lodged in the track, or debris packed into the roller well, will make the gate stall. This is a 10-minute fix with a wet-dry vacuum and a flathead screwdriver.
- Check the rollers. Worn or seized roller bearings transfer enormous load to the motor. Rollers are consumable parts, and in Los Angeles the dry, dusty climate accelerates wear on bearings that aren’t sealed well. If the roller doesn’t spin by hand with the gate stationary, it’s adding resistance the motor was never designed to overcome.
- Check the chain or belt tension. A loose chain jumps or slips; a tight chain strains the motor. Both convince a homeowner that the motor is failing. Neither requires a motor replacement.
For swing gates, the equivalent checks are hinge wear and actuator arm alignment. A bent actuator from a car bump (more common in tight Los Angeles driveways than anyone wants to admit) makes the motor stall. The fix is a new arm, not a new motor.
If the gate moves freely by hand when disengaged, the mechanical side is clean, and the problem is in the motor itself or its power delivery.
Step Five: The Capacitor Question and When the Control Board Is Really at Fault
A gate motor that hums but doesn’t turn is often pointing to a single small component: the capacitor. This cylindrical part stores the electrical jolt needed to start the motor spinning. When it dies, the motor can’t start, even though the motor itself is perfectly healthy.
We replace capacitors every week in Los Angeles, usually for under $100 parts and labor combined. The homeowner who was told they needed a full motor replacement at $600 or more was, in most of those cases, not being given the full story. The motor was never bad.
How to tell if the capacitor is the culprit:
- The gate hums loudly when activated but doesn’t move.
- The gate opens slowly, especially cold mornings in Los Angeles canyons where temperatures drop more than the coastal flats.
- The motor trips the board’s overcurrent protection after a few seconds.
If the motor starts and runs after a manual push (the equivalent of a push-start on a car), the capacitor is almost certainly dead. The motor bearings may be fine.
Now, the control board. Boards fail for different reasons than motors: power surges, water intrusion, heat damage (Los Angeles summers cook electronics inside dark metal housings), and simple age. The telltale signs of a board fault are: no response to input at all, error codes that recur after reset, or the gate operating on its own schedule at random hours. A board failure never produces a grinding sound. That’s mechanical. A board failure rarely produces a humming sound. That’s the capacitor or motor.
If your operator is one of the brands our team services, including DoorKing and Elite, which are common on Los Angeles commercial and larger residential gates, the board may be serviceable. But a cracked solder joint or a fried relay requires a board-level repair, not a whole-system replacement.
Which Troubleshooting Steps Void a Warranty (and Which Are Safe)
Warranty language varies by brand, but there’s a consistent pattern across LiftMaster, FAAC, BFT, Linear, Viking, Ghost Controls, DoorKing, Elite, and Mighty Mule. Generally speaking: any step that involves opening the control board housing or altering wiring voids the warranty if performed by an unqualified person. Any step that involves checking external components does not.
Safe to perform without affecting warranty:
- Testing the outlet and breaker
- Reading the diagnostic LED and beep codes
- Cleaning the track and rollers
- Realigning photocells
- Tightening a loose chain or belt within spec
- Clearing debris from the gate path
Potentially voids warranty if done incorrectly:
- Any repair inside the control board housing
- Replacing any wiring or component that requires removing the board cover
- Adjusting force or limit settings beyond the manufacturer’s specified range
- Bypassing a safety sensor to test operation
- Any modification to the motor assembly
If the unit is still under warranty, the safest move is to document the symptoms, note the LED codes, and call the manufacturer’s authorized service. For homeowners in Los Angeles who want a local option, Electric Gate Repair in Los Angeles covers the full diagnosis and repair while preserving warranty status through factory-trained documentation.
The Questions to Ask a Technician Before Authorizing Any Part Replacement
Here’s the conversation that separates a straight shooter from an upsell operation. When a technician diagnoses a failed motor or a failed board, the homeowner who asks these five questions will expose a bad diagnosis immediately.
- “Can you show me the test result that confirms this part is bad?” A multimeter reading across the capacitor, a continuity test on the motor windings, or a diagnosis code from the board are all verifiable. A technician who can’t show you a number is guessing.
- “Did you test the power supply at the input terminals?” If the answer is no, the diagnosis isn’t complete. Voltage drop is a real problem in Los Angeles neighborhoods where power lines run long distances from the street. A weak supply mimics a dead board.
- “Did you check the safety sensors and the contact edge?” Again, the most common misdiagnosis is calling a sensor problem a board problem. If they didn’t check, ask them to check before you write a check.
- “What’s the written price for this repair?” At Warden Gate Repair, the answer is delivered in writing before any work begins, every time. But even with another company, a verbal quote should be backed by a paper estimate. In Los Angeles, you have consumer protections under California state law: the final invoice cannot exceed the written estimate by more than 10% without your approval. That law exists for exactly this situation.
- “If the motor wasn’t the problem, would you cover the return visit?” This is where our 365-Day Done Right Promise comes in. If the repair fails or the diagnosis was wrong, the return visit is free, guaranteed in writing. A technician who hesitates on this question is telling you something.
Our team at Gate Repair in Los Angeles is trained to answer all five of these questions without defensiveness, because a correct diagnosis survives scrutiny.
Common Mistakes to Avoid
- Replacing the motor first. The cheapest fix is rarely the most expensive part. Start with power, sensors, and the capacitor. A motor replacement should be the last resort, not the opening move.
- Ignoring the diagnostic LED. That blinking light is the operator’s own fault report. A homeowner who reports “the gate just stopped” without the LED count gives a technician zero data to work with, and that’s when commissions get involved.
- Bypassing safety sensors to “test” the gate. In Los Angeles, city code requires operational entrapment protection. Bypassing it endangers anyone who walks near the gate, and it creates liability for you as the homeowner. This is not a diagnostic shortcut worth taking.
- Using WD-40 on the track or chain. Wet lubricant attracts dust and grit, and Los Angeles has no shortage of either. The correct approach is a dry silicone spray or, better yet, proper cleaning and bearing inspection. We see more damage from over-lubrication than from neglect.
- Assuming a humming motor means the motor is dead. The hum is the motor trying to start. It usually can’t because the capacitor has failed, a much cheaper fix. Replacing the motor doesn’t replace the capacitor, which means the new motor will hum too.
- Calling a general handyman for a gate motor problem. Gate automation is a specialty. A generalist who works on 20 different trades will not have the manufacturer diagnostic tools or the factory training for your specific brand. In our experience, the homeowners who call us after a handyman “fixed” the gate pay twice: once for the wrong repair and once for the right one.
When to Call a Professional
Three situations demand a trained technician, no matter how confident you feel after reading this guide. First, any problem that requires opening the control board housing: the board carries line voltage, and a mistake here isn’t a learning experience. Second, any repair on a gate that serves a shared driveway or multi-unit building: Los Angeles building codes impose specific safety requirements on shared access gates, and a homeowner who alters them inherits the liability. Third, any symptom that returns after you’ve replaced a part you diagnosed yourself: that means the real fault is upstream of what you fixed. Warden Gate Repair offers free estimates in Los Angeles, call (828) 426-7081, and every visit includes the written price before work starts and a technician whose name and photo arrive before they do.
Frequently Asked Questions
Gate motor repair in Los Angeles typically costs between $150 and $600 depending on the fault. A capacitor replacement is usually under $100, a sensor replacement runs $150 to $250, and a control board replacement typically lands between $400 and $600. A full motor replacement on a residential gate swings from $800 to $1,200 installed, which is why confirming the motor is actually the problem before authorizing the work is essential. Call (828) 426-7081 for a written quote before any work starts.
Most gate motor problems are repairable, and many are simple and inexpensive. The five fault categories we outlined above, power supply, control board, motor/capacitor, mechanical obstruction, and safety sensor, each have well-documented repairs. It’s rare for a motor to fail completely without showing one of the early warning signs first. The cases where replacement makes sense are motors over 15 years old, motors with seized bearings, or units where the cost of parts alone exceeds 60% of a new unit.
A gate that hums when activated but doesn’t move, starts slowly, or requires a manual push to get going, is telling you the capacitor has likely failed. The capacitor is a small cylinder inside the motor housing that stores the starting charge. It’s a common failure point on LiftMaster, DoorKing, and Elite motors, and replacement costs far less than a new motor.
A gate that stops and reverses mid-cycle is almost always reacting to a false safety signal. The photocell has drifted out of alignment, the contact edge is sending a phantom obstruction reading, or the loop detector is misconfigured. In Los Angeles, ground settlement after rain and UV damage to reflector plates are frequent triggers. The fix usually involves realignment or a small component replacement, not a motor issue.
For residential Los Angeles gates, LiftMaster, Ghost Controls, and Mighty Mule are the most common and well-supported brands. For heavier sliding and cantilever gates, DoorKing and Elite dominate the Los Angeles market. Each has distinct diagnostic patterns and maintenance requirements, and we service all of them with factory-trained technicians.
Only if the operator includes a battery backup. Many LiftMaster and Ghost Controls models offer this as standard or as an add-on. Units with battery backup will operate at reduced speed during an outage, and the battery needs replacement every two to three years. Los Angeles power reliability varies by neighborhood, and in areas with frequent Public Safety Power Shutoffs, a battery backup is a practical addition.
The Bottom Line
Gate motor repair troubleshooting is a system of five simple categories. The power that feeds the gate is weak or gone. The control board is damaged or confused. The motor or capacitor can’t start. The physical gate can’t move freely. The safety sensors are crying wolf. Once you know which category you’re in, the rest is bookkeeping. For additional help, explore our more guides & resources. Read the LED, test the supply, check the sensors, clean the track, and never accept a motor replacement until someone shows you the test result that justifies it. In Los Angeles, a market with gate automation everywhere from private driveways to shared lots, the difference between a $100 capacitor fix and a $1,000 motor replacement is often just the rigor of the diagnostic. That’s the work, and we do it well.
Written by Cole Rafferty, Owner at Warden Gate Repair, serving Los Angeles since 2008.