
Last updated October 9, 2026
Free on-site gate assessment - hinges, posts, and your LiftMaster or Nice gate operator checked before anything is quoted
The assessment is free and the quote is the invoice.

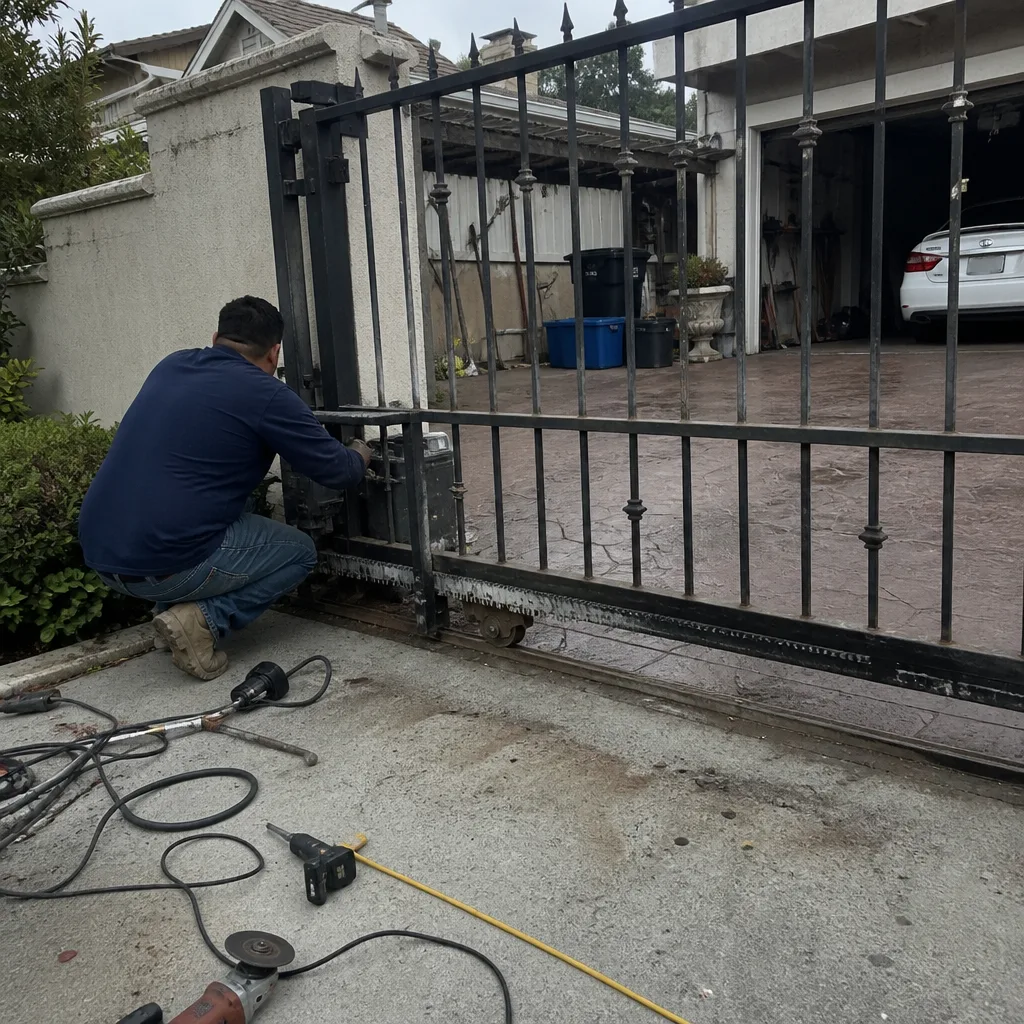 Before
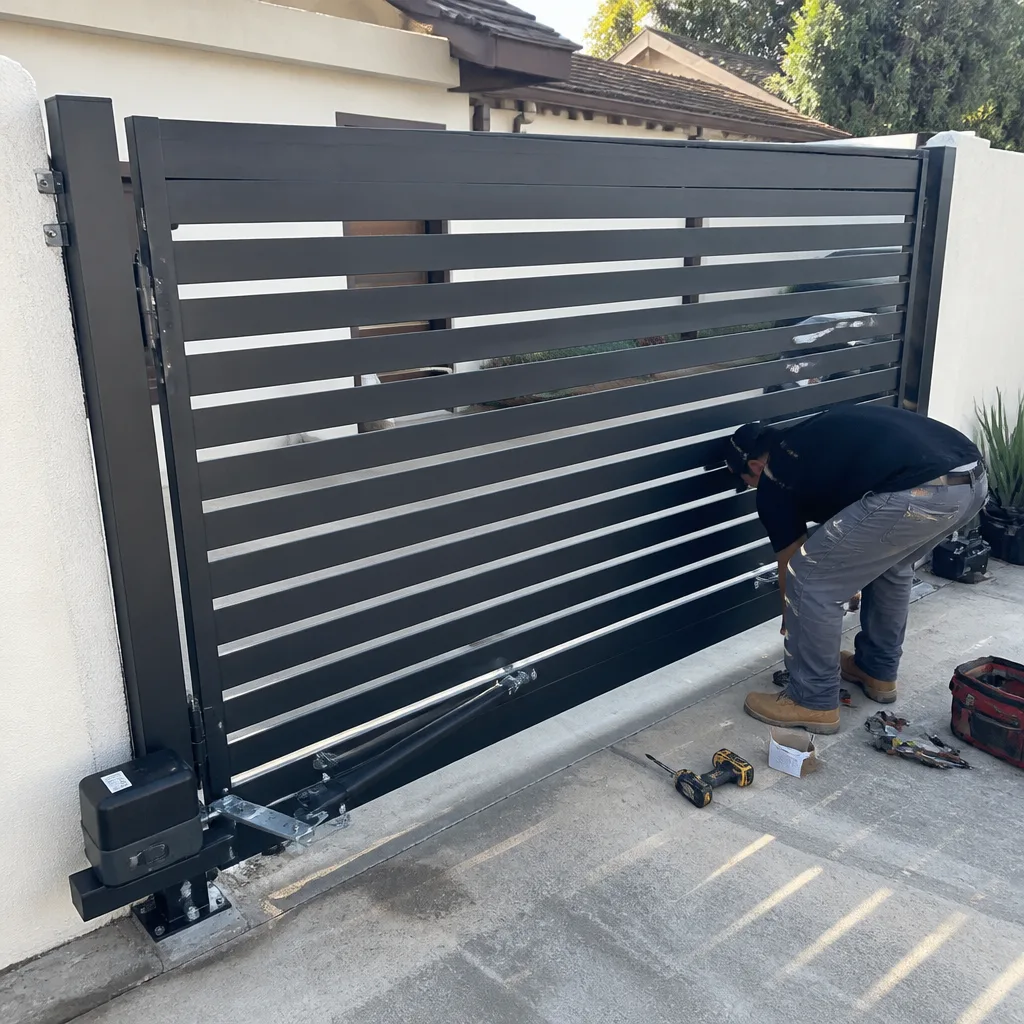 After
After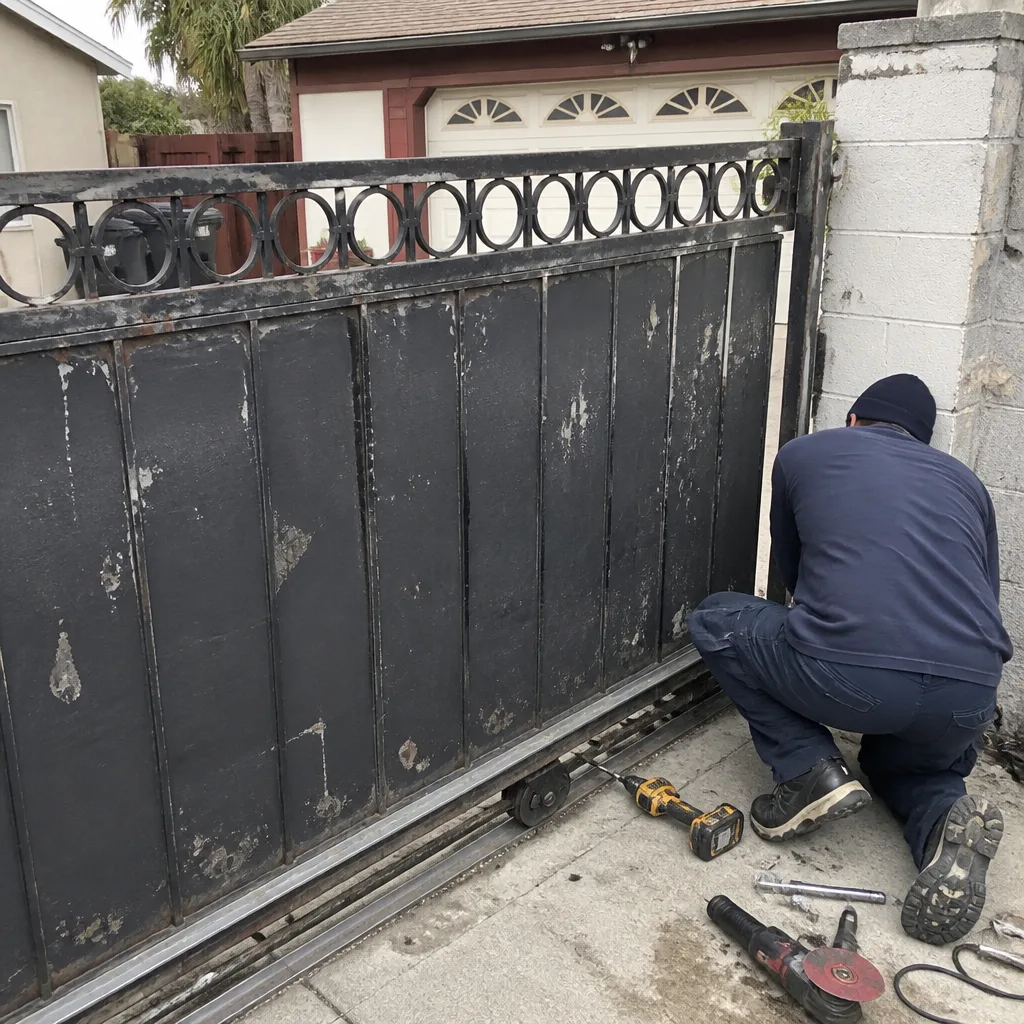 Before
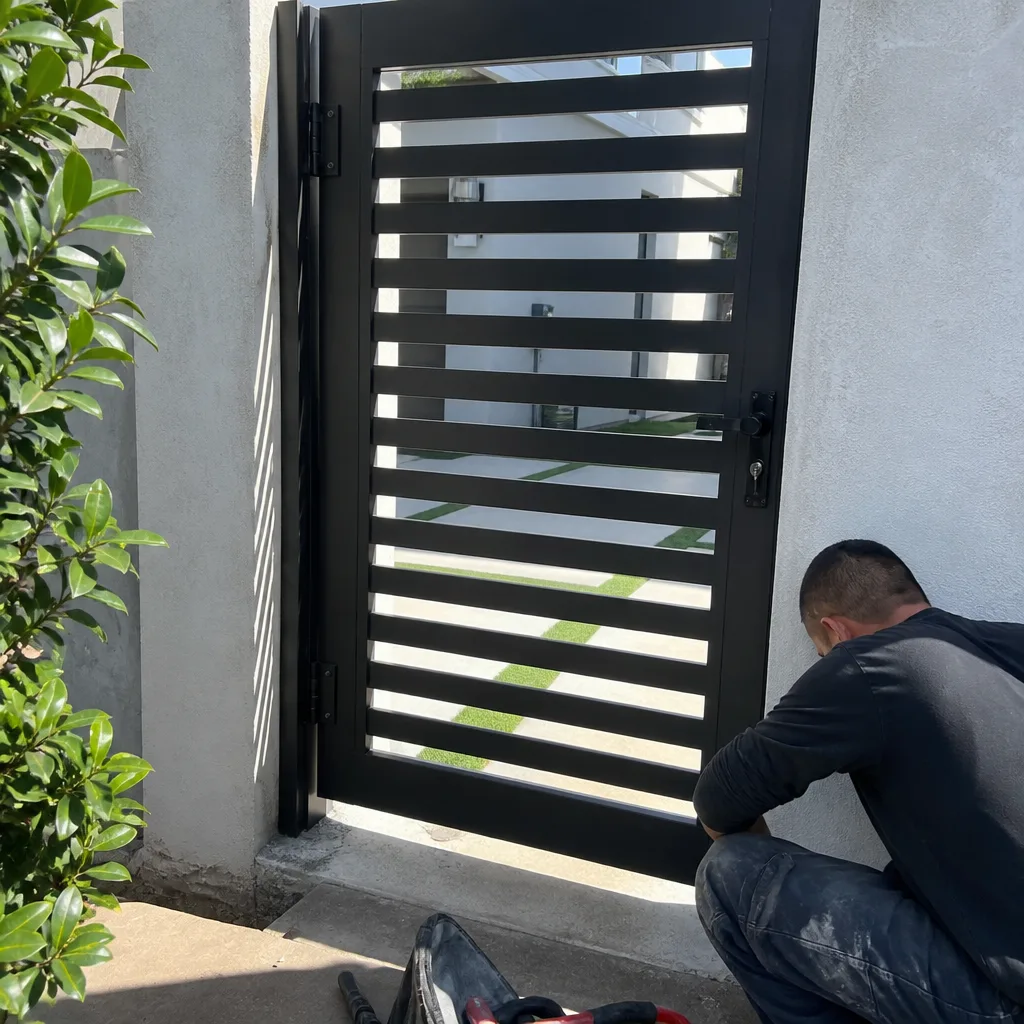 After
After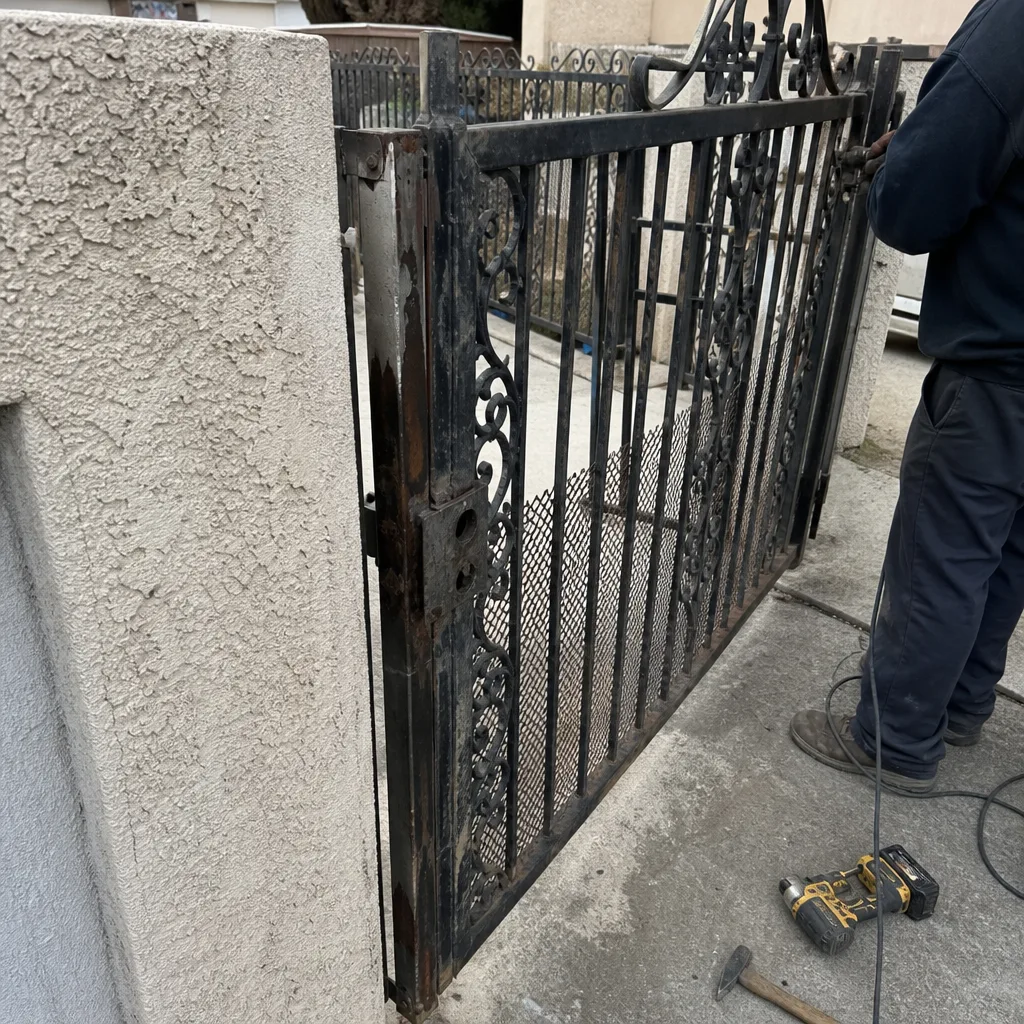 Before
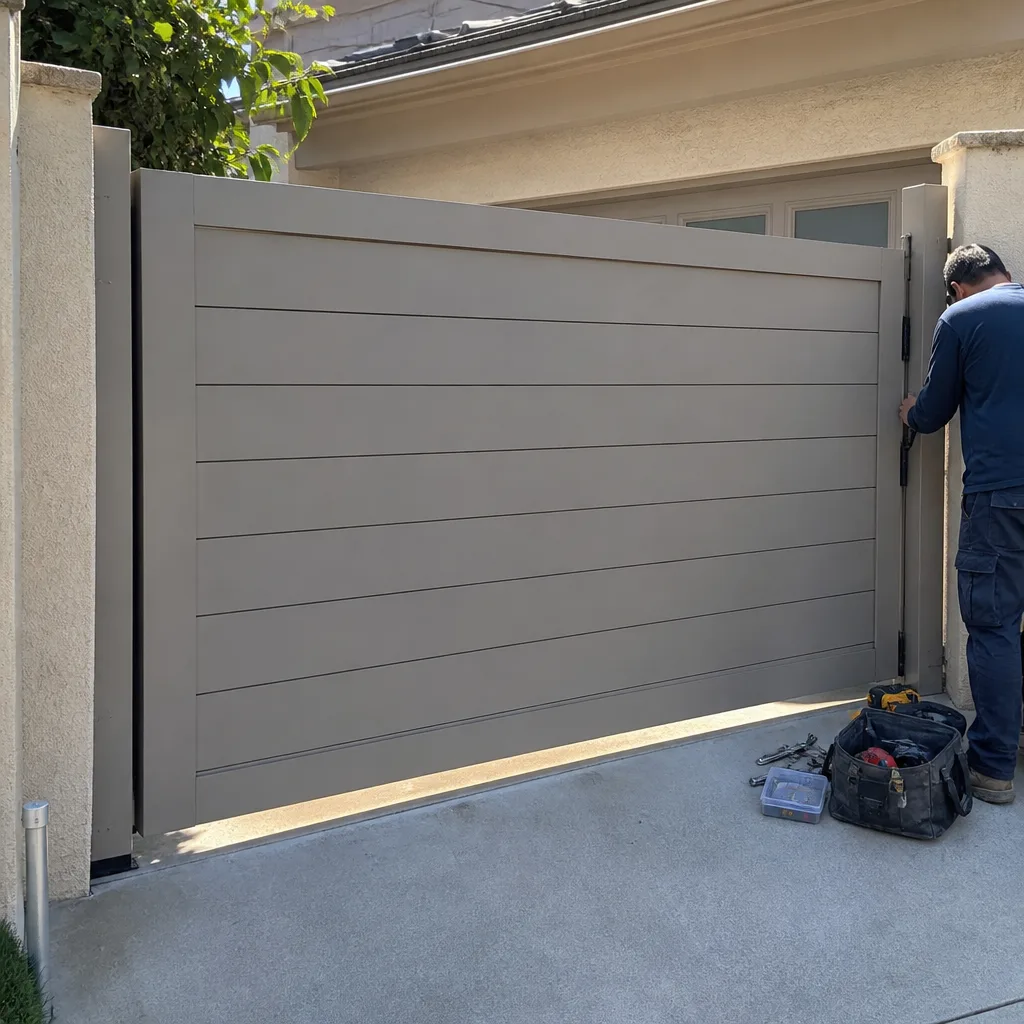 After
AfterDIY vs Professional Gate Motor Repair: What’s Safe to Do Yourself
Replacing a gate motor in California without the correct entrapment protection devices installed is a code violation. If that gate injures someone afterward, the violation follows the homeowner, not the person who sold them the motor on YouTube. That single fact redraws the line most DIY guides ignore. This guide gives you that line: the tasks you can legally and safely handle, the ones that need a licensed contractor, and the warranty language that determines whether your repair costs $20 or $2,000. We’ve repaired gates across Los Angeles since 2008, and we’ll tell you plainly what we’d do ourselves and what we’d never touch. For anything beyond your comfort zone, our Gate Motor Repair services are available.
Quick Answer
Battery replacement, remote programming, photo-eye cleaning, and basic lubrication are safe DIY gate motor tasks. Motor replacement, circuit board repair, limit switch adjustment, and any work involving high-voltage wiring or entrapment protection devices fall under California code and require a licensed contractor. The dividing line is electrical safety and UL325 compliance, not how handy you are.
Table of Contents
- The Legal Line: What California Code Says About Gate Motors
- Safe DIY Tasks: What You Can Do This Weekend
- Professional-Only Tasks: What You Should Never Attempt
- Warranty Language: What LiftMaster, Linear, and FAAC Actually Say
- The Real Cost Comparison: DIY vs Pro
- One DIY Task Done Right: Photo-Eye Alignment Step by Step
- Common Mistakes to Avoid
- When to Call a Professional
- Frequently Asked Questions
- The Bottom Line
The Legal Line: What California Code Says About Gate Motors
California adopted UL325 as the governing safety standard for automated gate systems. UL325 exists because gates kill people. Between 1990 and 2000, entrapment incidents involving automatic gates caused dozens of deaths and serious injuries across the country, many of them children. The standard that emerged requires every automated gate to include specific entrapment protection: photo-eye sensors, edge sensors, or contact reversal. If you install a gate motor in Los Angeles without these devices functioning correctly, you own the liability if someone gets hurt.
The California Electrical Code also covers gate motor installation. A permitted gate motor job in Los Angeles requires the power run to meet code: proper conduit, appropriate wire gauge for the distance, a dedicated circuit in some cases, and GFCI protection. We’ve seen DIY installs in the San Fernando Valley where homeowners ran 14-gauge extension cord wire through a garden bed to a gate motor 60 feet from the house. The motor worked for three months. Then it didn’t. Then the wire melted.
Here’s what UL325 actually requires on every automated gate, regardless of who installs it:
- Photo-eye sensors positioned to detect an obstruction across the gate’s full travel path
- Contact edge sensors on the gate’s leading edge, trailing edge, and any pinch points, or a motor with built-in obstruction reversal
- Warning signage mounted on both sides of the gate for vehicular gates
- Manual disconnect accessible from outside the gate in case of power failure or emergency
The permit itself matters too. Los Angeles requires a permit for gate motor installation when it involves new electrical work. Skipping the permit doesn’t save money if the homeowner later files an insurance claim or sells the house and an inspection catches the unpermitted work.
Safe DIY Tasks: What You Can Do This Weekend
There are genuinely safe, useful things a homeowner can do to keep a gate motor running. These tasks don’t involve line voltage, don’t open the motor housing, and don’t touch any safety device beyond cleaning and alignment. They also don’t void warranties. Do them without hesitation.
Battery Replacement
Many LA properties run gate motors on a 12-volt battery system, especially solar-powered Mighty Mule or Ghost Controls units common in hillside neighborhoods like Mount Washington or Baldwin Hills. When the battery ages out, usually every 2 to 4 years, the gate opens slowly or not at all. Replacing the battery is a straightforward swap: disconnect the old terminal leads, connect the new battery, secure it in the housing. The programming and limit settings typically survive a battery change. But if the gate still won’t respond after the swap, stop there. The problem lives in the board or the motor itself.
Remote Programming
Programming a new remote or keypad to a LiftMaster or Linear gate motor is a menu-driven process described in the owner’s manual. It takes five minutes. The gate’s learn function pairs the transmitter. If the remote won’t pair after two attempts, it’s often a frequency mismatch or a receiver issue rather than user error. Order the remote from a source that matches the exact model frequency.
Lubrication
Gate hardware in Los Angeles deals with coastal air, canyon dust, and summer heat. Hinges, rollers, and the chain drive on slide gates need lubrication every four to six months. Use a silicone-based lubricant or white lithium grease. Apply a thin coat to hinge pins and roller paths. Do not spray anything into the motor itself. Do not grease the photo-eye lenses.
Sensor Cleaning and Basic Alignment
Photo-eye lenses collect dust, spider webs, and sprinkler overspray. Wipe both sensor faces with a dry microfiber cloth. If the gate won’t close after cleaning, the sensors may just need realignment. That’s the walk-through in a section below.
These four tasks cover the legitimate homeowner territory. They’re fast, safe, and they keep a gate running between professional service visits.
Professional-Only Tasks: What You Should Never Attempt
This is where the DIY instinct gets people hurt or destroys equipment. These tasks carry electrical risk, mechanical load risk, or code-compliance risk. One is enough to warrant a professional.
Gate Motor Replacement
Swapping a motor means pulling line voltage, removing and remounting a heavy drive unit, re-running limit settings, and certifying that entrapment protection works. It’s not bolt-off, bolt-on like a car battery. A new LiftMaster LA400 or FAAC 391 operator requires torque calibration to the gate’s actual weight and length in the field. That’s not set from the factory. Get the torque wrong and the gate crushes whatever is in its path. In our experience, LA hillside gates are often heavier than homeowners estimate, which throws off every DIY torque calculation.
Circuit Board Repair
The control board is the motor’s brain. Diagnosing a dead board versus a dead transformer versus a failed capacitor requires a multimeter and the knowledge to interpret what it shows. Replacing a board without solving the underlying short that fried the original just burns a second board. We replace boards in BFT and Viking operators regularly, and the first diagnostic step is finding why the board failed.
Limit Switch Adjustment
Limit switches tell the motor where to stop. If they’re set wrong, the gate slams into its stop post or opens past the track and drops. Adjusting them on an installed motor usually means working near moving parts while the gate is under power. This is a pinch-and-crush hazard. Leave it to someone who de-energizes the unit before touching adjustments.
High-Voltage Wiring and Power Runs
Running power to a gate motor in Los Angeles means trenching (or surface-mounting) conduit to code, calculating voltage drop over distance, and making connections inside a junction box. A 120-volt mistake in a metal post that gets wet is a shock hazard that can injure someone years after the original install. This is the single most dangerous DIY gate task and the one we most often correct after the fact.
Entrapment Protection Installation or Replacement
Photo-eyes and contact edges are the difference between a gate that stops for a person and a gate that doesn’t. Installing them correctly means positioning them to cover the full travel path, wiring them into the motor’s safety circuit, and testing under load. If the safety circuit is bypassed or miswired, the gate will drive through an obstruction. That failure mode has killed people. Don’t touch it.
If you’re unsure whether a specific task crosses the line, the safest test is this: does it involve line voltage, the motor’s oil-filled gearbox, the control board, or any part of the entrapment system? If yes, call a licensed contractor.
Warranty Language: What LiftMaster, Linear, and FAAC Actually Say
The warranty conversation matters because a DIY repair that voids a three-year motor warranty turns a $300 part into a $1,800 replacement. Most homeowners never read the warranty until the claim is denied. Here’s the actual language pattern from the three brands you’re most likely to own in Los Angeles:
- LiftMaster: the warranty covers defects in material and workmanship “under normal use and service” and explicitly excludes “damage caused by unauthorized modification, improper installation, or repair by anyone other than a qualified technician.” The word “qualified” is doing the work. If you open the motor housing and replace a capacitor, and the motor later fails, LiftMaster can point to unauthorized repair as the cause.
- Linear: Linear’s operator warranties are void if the product has been “subjected to misuse, neglect, accident, improper installation, or repair not performed by an authorized Linear dealer.” Linear also requires proof of installation by a licensed contractor for the commercial-grade operators. For homeowners, a failed DIY repair on a Linear actuator means paying retail for the replacement.
- FAAC: FAAC’s warranty terms exclude “damage resulting from improper installation, unauthorized service, or alteration.” FAAC also requires that installation comply with UL325 safety standards. A homeowner-installed FAAC motor that lacks functioning entrapment protection is both a code violation and a warranty void from day one.
The common thread: these manufacturers don’t care how careful you are. They care whether the repair was performed by a qualified technician under conditions that preserve the safety certification. If you’re a capable DIYer and you replace a remote battery, nothing happens to the warranty. If you crack open the motor housing to diagnose a grinding noise, you’ve likely put the rest of the warranty period at risk. Warden Gate Repair is authorized to service LiftMaster, FAAC, BFT, Linear, Viking, Ghost Controls, DoorKing, Elite, and Mighty Mule equipment, which means the warranty stays intact when we do the work. Los Angeles homeowners can read more in our local guide on DIY vs Professional Gate Repair: The Los Angeles Homeowner’s Decision Guide.
The Real Cost Comparison: DIY vs Pro
DIY gate motor repair looks cheaper on paper. That changes fast when a misdiagnosis damages a second component or the fix doesn’t hold. Let’s price a common scenario in Los Angeles: a slide gate motor that opens but won’t close, with one photo-eye blinking.
| Cost Item | DIY Route | Professional Route |
|---|---|---|
| Diagnosis | $0 (your time: 1-3 hours reading forums, watching videos) | $0-$89 diagnostic fee, typically waived if repair is approved |
| Replacement photo-eye sensor | $35-$60 online for a generic sensor | $40-$80 for the exact brand-matched sensor |
| Potential misdiagnosis cost | $80-$250 if the board was actually the problem and you’ve now also replaced the wrong part plus fried the new sensor wiring | $0 – the technician diagnoses before replacing |
| Labor | $0 (2-4 hours of your weekend) | $120-$180 for a sensor replacement, $180-$340 for full motor replacement |
| Warranty on the repair | None – you are the warranty | Written guarantee, Warden’s 365-Day Done Right Promise with a free return visit if the repair fails |
| Typical realistic total | $35-$310, depending on whether the DIY diagnosis holds | $120-$340, fixed before work begins |
The hidden cost the table shows is the misdiagnosis loop. In our experience at Warden Gate Repair, roughly one in four calls that start as “I already tried replacing the sensor” turns out to have a different root cause: a failed control board, a corroded wire splice, or a slipping clutch. The homeowner spent $60 and four hours to end up calling us anyway. The parts cost is a sunk cost. The board damage from a crossed wire during the DIY sensor install is a new problem that didn’t exist before.
There’s also the time factor. Most professional gate motor repairs in Los Angeles are completed in one visit. The same task as a DIY project eats a weekend, sometimes two, when you count diagnosis, ordering parts, waiting for delivery, re-reading instructions, and doing the work a second time after the first attempt fails. Whether that time is worth the savings depends on what the actual repair is. For a battery swap, DIY wins every time. For a motor control board, DIY loses every time, on cost, safety, and warranty.
Gate motor repair in Los Angeles gets a written price before any work starts, so the comparison above isn’t theoretical. You know the number before approving anything.
One DIY Task Done Right: Photo-Eye Alignment Step by Step
Photo-eye misalignment is the single most common “gate won’t close” problem we see in LA, and it’s genuinely fixable by a homeowner in 20 minutes. If the gate opens but refuses to close, and one or both sensor LED lights are blinking or dim, the sensors aren’t seeing each other. Here’s the full walkthrough:
- Clean the lenses. Wipe both photo-eye lenses with a dry microfiber cloth. No cleaner, no water. Sprinkler overspray and dust are enough to knock them out of alignment.
- Identify the blinking LED. A steady green LED usually means the sensor is powered and aligned. Blinking means misalignment or blockage. Check which sensor is blinking and work on that one first.
- Loosen the mounting bracket slightly. Don’t remove it. Loosen enough that the sensor can be nudged, not flopped.
- Nudge the sensor in small increments. Move it up, watch the LED. Down, watch. Left, watch. Right, watch. When both LEDs go solid, you’re close.
- Secure the bracket. Hand-tighten, then test the gate. Run it halfway closed. If it reverses, realign again with smaller movements.
- Test the safety function. Place a cardboard box in the gate’s path and command the gate to close. It should stop and reverse before touching the box. If it doesn’t, the sensors are aligned but the safety circuit may be bypassed or failed, and that’s a professional call.
That final test step is the one DIY guides often skip. It’s the difference between “the gate closes now” and “the gate closes now and is safe for the kids in the driveway.” If the gate won’t reverse on the box test, stop and call a professional. The sensor might be aligned but the safety circuit is open or the motor’s obstruction reversal is disabled, which means the gate is a crush hazard.
Common Mistakes to Avoid
- Bypassing the photo-eyes to force the gate closed. When the gate won’t close, some homeowners tie the sensor wires together or tape over the lens. This defeats UL325 entrapment protection and converts a malfunctioning gate into a crush hazard. In Los Angeles, where gates serve driveways near sidewalks and pedestrian paths, this mistake puts neighbors and delivery people at risk.
- Greasing the track on a slide gate motor. Grease on a chain or rack attracts dirt, and in LA’s dry environment that grit grinds the gear. The correct method is a light machine oil on the chain, or nothing at all on a rack-and-pinion drive. Greasing the track is worse than doing nothing.
- Ordering a replacement motor based on a photo match instead of a model number. Gate motors that look identical can have different torque ratings, voltage requirements, and mounting patterns. Matching by photo fails often enough that we correct it monthly. Match by the model plate on the motor body.
- Cranking the limit switch adjustment without marking the original position. If you’re committed to adjusting limits yourself, mark the original settings with a paint pen before moving anything. Without that, you can’t go back, and the service call doubles in cost because the technician now has to reverse-engineer your changes before fixing the original problem.
- Ignoring a gate that has become slower over time. A gate that gradually slows often has a failing capacitor or a binding hinge. Continuing to use it accelerates the damage. The $100 repair becomes a $400 motor replacement because the motor ran under increased load for six months.
- Starting a DIY repair without checking the gate’s manual release function. If the gate motor fails while closed and you don’t know how to use the manual release, you can’t get a car in or out. Learn the manual release before you touch anything else. It’s also the difference between a quick fix and being locked out of your own driveway in Los Angeles traffic.
When to Call a Professional
Call a professional if the gate motor makes a grinding noise that’s new, if the gate won’t move at all and the opener hums, if the gate reverses without any visible obstruction, if the breaker trips repeatedly, or if you removed the motor cover and found water inside. Those symptoms point to mechanical or electrical failures inside the motor itself, the gearbox, or the control board. A professional diagnosis is faster and safer than the guess-and-check method, and it keeps the equipment warranty intact. Warden Gate Repair offers free estimates in Los Angeles and delivers a written price before any work begins, so you know the number before you approve it. Call (828) 426-7081 when you’re ready to talk through what’s happening.
Frequently Asked Questions
Professional gate motor repair in Los Angeles typically ranges from $120 to $340 depending on the component. A photo-eye replacement or limit switch adjustment runs $120-$180. A control board replacement runs $180-$300. A full motor replacement runs $250-$340 in labor plus the cost of the operator itself, which varies by brand and model. Every Warden Gate Repair job gets a written price before any work starts, so you’re not waiting for the final invoice to learn the number. Call (828) 426-7081 for an exact quote on your gate.
You can, but you shouldn’t. Gate motor replacement in California must meet UL325 entrapment protection standards, and the installation involves high-voltage wiring, torque calibration, and safety device testing. Get any of those wrong and the gate becomes a crush hazard. The warranty on the new motor is also void from the date of installation if the work wasn’t done by a qualified technician. What starts as a $600 DIY motor swap ends as a $1,800 professional replacement plus the cost of the motor you already bought.
Battery replacement, remote and keypad programming, photo-eye lens cleaning and basic alignment, and lubrication of hinges and chains are safe DIY tasks. None of these involve line voltage, the motor housing, or entrapment protection electronics. They also don’t void warranties. Everything else belongs to a professional.
The most common cause is misaligned or blocked photo-eye sensors. Clean both lenses and check for blinking LEDs, then follow the alignment steps above. If the sensors are clean and aligned and the gate still won’t close, the problem is likely a failed safety circuit component, a limit switch fault, or a control board issue, and that requires a professional inspection.
In most cases, yes, when new electrical work is involved. A like-for-like motor replacement that uses the existing power supply may not require a permit, but adding a new power run, a new circuit, or new conduit typically does. A licensed contractor handles the permit and the inspection. Electric gate repair in Los Angeles almost always hinges on the condition of the original power run, and unpermitted work from a previous owner complicates things more than most homeowners expect.
First check the breaker and the GFCI outlet the motor is connected to, then test the manual release to make sure the gate itself still moves. If the gate moves manually but the motor won’t respond, the problem is electrical: a dead battery on a solar unit, a tripped GFCI, a failed transformer, or a dead control board. These are all professional-diagnosis items. Gate repair in Los Angeles gets a live person on the phone 24/7 who can help you identify whether the issue is simple or serious before anyone has to come out.
The Bottom Line
The DIY vs professional gate motor question resolves to three things: voltage, safety circuits, and warranty language. Homeowner tasks are low-voltage, low-risk, and limited to cleaning, batteries, remotes, and basic sensor alignment. Everything else involves line voltage or the UL325 entrapment system that keeps a gate from hurting someone. Those jobs belong to licensed contractors, and the cost is justified by the safety certification and the written warranty that a DIY repair can’t provide. Los Angeles homeowners with a gate problem that doesn’t fit the safe DIY list should get a free estimate from Warden Gate Repair’s gate motor service and know the written price before deciding anything.
Written by Cole Rafferty, Owner at Warden Gate Repair, serving Los Angeles since 2008. Browse our more guides & resources for additional gate repair help.